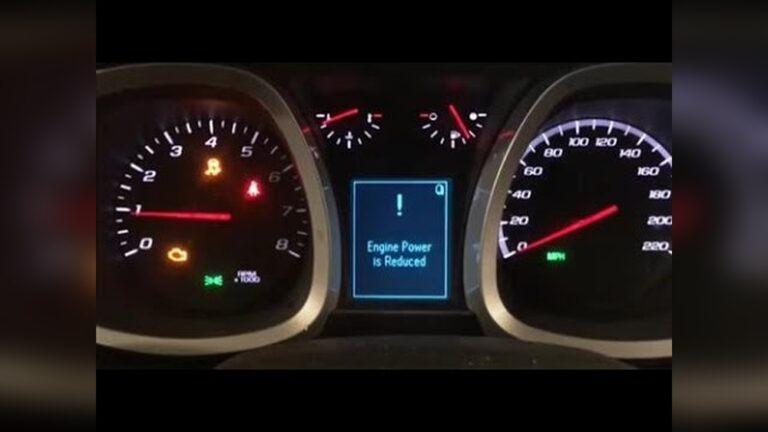
How to Fix Service Driver Assist System Cadillac 2026 Guide
The Service Driver Assist System warning on a Cadillac typically points to obstructed radar sensors, camera alignment issues, or weak battery voltage. Resolving this issue often requires a systematic approach, starting with basic sensor cleaning and progressing to advanced module diagnostics.
Clearing the “Service Driver Assist System” warning on your Cadillac usually comes down to resetting a confused module, cleaning an obstructed sensor, or addressing a weak 12-volt battery. When this warning pops up on your dash, your automatic emergency braking, lane keep assist, and adaptive cruise control are temporarily disabled.
Ignoring this dashboard message leaves you without critical safety features during your 2026 commutes. Fortunately, you can resolve many of these faults in your own driveway without paying for an expensive dealership diagnostic fee.
Key Takeaways
- Dirty or blocked front radar and camera sensors frequently trigger false error messages.
- A weak or failing 12-volt battery can cause intermittent driver assist module communication faults.
- Checking associated fuses prevents unnecessary and costly sensor replacements.
- Advanced diagnostics require an OBD2 scanner capable of reading Cadillac-specific chassis codes.
- Professional dealer-level programming may be needed for recalibrating replaced cameras or radar.
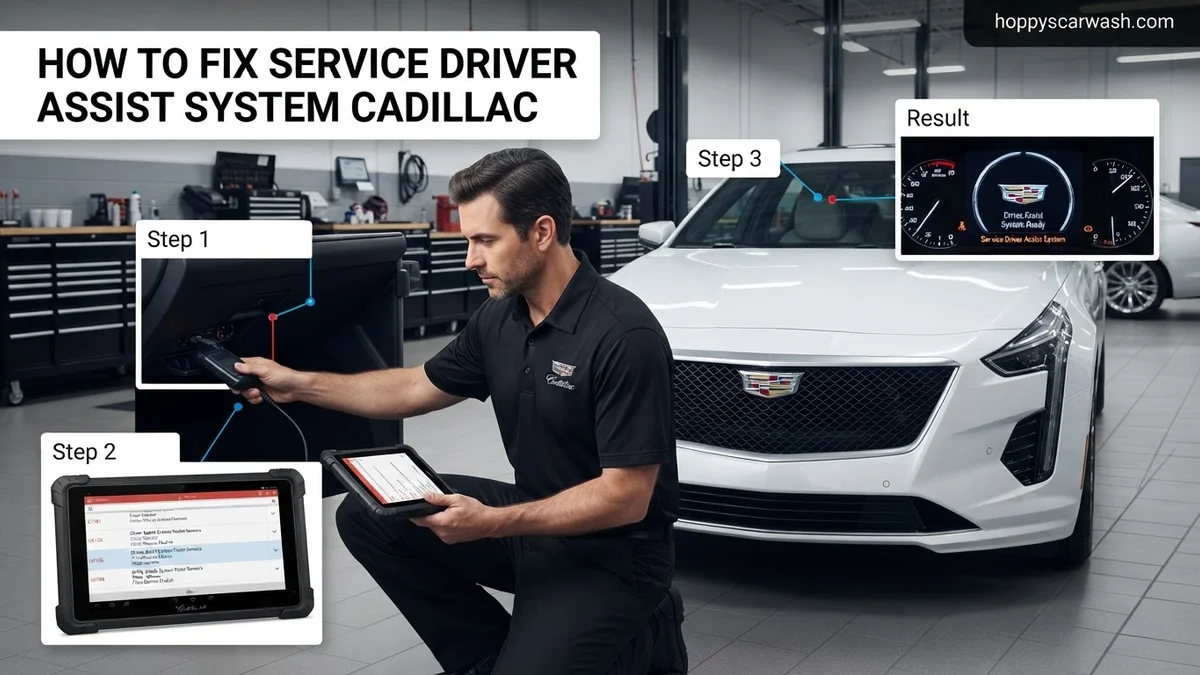
Common Causes of the Cadillac Service Driver Assist Warning
Obstructed or Dirty Sensors and Cameras
Cadillac driver assist systems rely heavily on a combination of ultrasonic bumper sensors, a windshield-mounted camera near the rearview mirror, and a radar module hidden behind the front grille or crest. Even a thin layer of road salt, heavy mud, bugs, or ice will block these components and trigger an immediate fault code.
- Snow and ice buildup on the front Cadillac crest emblem (housing the radar)
- Mud splatters directly over the ultrasonic parking sensors in the bumpers
- Smudges or condensation on the interior windshield directly in front of the forward-facing camera module
Battery Voltage Drops and Electrical Glitches
Modern Cadillac vehicles like the XT5, Escalade, and CT5 require stable electrical voltage to keep their sensitive computer networks communicating properly. If your battery is getting weak, or if a wheel speed sensor fails, the driver assist module will shut down to prevent erratic vehicle behavior.
- A failing 12-volt battery dropping below 12.2 volts during startup
- Corroded or loose battery terminals causing intermittent power interruptions
- Faulty wheel speed sensors sending conflicting data to the traction and stability control computers
How to Diagnose and Fix Service Driver Assist System Cadillac Like an Expert
Dealing with the dreaded “Service Driver Assist System” warning on your Cadillac dashboard can be frustrating, as it disables advanced safety features like adaptive cruise control, lane keep assist, and automatic emergency braking. This comprehensive guide will walk you through the exact diagnostic and repair process to locate the root cause, clear faults, and get your Cadillac’s sophisticated technology back to peak operating performance safely and efficiently.
Step 1: Perform a Comprehensive System Reboot
What you need: No tools required, just your Cadillac key fob.
Instructions: Modern Cadillac vehicles are essentially computers on wheels, and temporary software glitches in the Body Control Module (BCM) or Safety Power Module can trigger false alerts. Start by turning off your engine completely. Exit the vehicle, close all doors, and lock the car using your key fob. Wait for a full 5 to 10 minutes to allow all electronic modules to completely power down and clear their volatile memory cache. Return to the vehicle, unlock it, and start the engine to see if the warning message has vanished from your driver information center.
Pro Tip: Do not just turn the key off and on immediately; the computer network requires several minutes to enter a true “sleep” state to properly reset.
Step 2: Inspect and Clean Exterior Camera and Sensor Lenses
What you need: Microfiber cloth, automotive-safe glass cleaner or mild soapy water, and a plastic trim tool (optional).
Instructions: The driver assist system relies heavily on a clean optical environment. Walk around your Cadillac and carefully inspect the forward-facing camera mounted on the upper windshield behind the rearview mirror. Next, check the radar sensor hidden behind the front grille or Cadillac crest emblem, as well as the ultrasonic parking sensors embedded in both bumpers. Wipe down all these surfaces using a damp microfiber cloth and approved cleaner. Remove any stubborn bug splatters, road salt, bird droppings, or thick layers of grime that may be completely blocking the sensors’ line of sight.
Pro Tip: Never use harsh chemical solvents, abrasive paper towels, or scrapers on the plastic sensor covers, as micro-scratches can permanently blind the radar and camera units.
Step 3: Check Battery Health and Terminal Connections
What you need: 10mm wrench, terminal wire brush, baking soda, water mixture, and a digital multimeter.
Instructions: Low battery voltage is a notorious trigger for random electronic gremlins in GM vehicles. Pop the hood and inspect your 12V battery. Measure the resting voltage using a digital multimeter; it should read at least 12.6 volts with the engine off. Inspect the positive and negative battery terminals for signs of white or green corrosive buildup. If corrosion is present, disconnect the negative terminal first, scrub the terminals clean with a wire brush and baking soda solution, rinse, dry, and securely re-tighten everything.
Pro Tip: Always disconnect the negative battery cable first to prevent accidental electrical shorts, and remember that disconnecting the battery will require you to reset your power windows and radio presets.
Step 4: Scan for Specific Diagnostic Trouble Codes (DTCs)
What you need: An advanced OBD2 scanner capable of reading Chassis (C-codes) and Network (U-codes) modules.
Instructions: Standard generic OBD2 scanners only read engine (P-codes) faults. To diagnose driver assist issues, plug an advanced diagnostic tool into the OBD2 port located beneath your steering wheel. Run a complete system auto-scan to query the Chassis Control Module, Serial Data Gateway, and Image Processing Module. Look for specific codes such as U0415 (Invalid Data Received from ABS), C1100, or camera calibration fault codes. Write down all active and historic codes displayed on the screen.
Step 5: Inspect Wiring Harnesses and Ground Points
What you need: Flashlight, electrical contact cleaner, and a zip-tie kit.
Instructions: Road vibrations, moisture, and rodent damage can compromise the delicate wiring harness responsible for the driver assist system. Trace the visible wiring leading to the front bumper radar module and the windshield camera module. Look for frayed insulation, pinched wires, or loose electrical connectors. Unplug major connectors near the radiator support, inspect for pin corrosion, spray them with electrical contact cleaner, and push them firmly back together until the locking tab clicks. Secure any sagging wires with zip-ties to prevent future rubbing.
Pro Tip: Check the main chassis ground points located near the front frame rails; a loose or rusted ground bolt frequently mimics complex electrical sensor failures.
Step 6: Perform Module Calibration (If Applicable)
What you need: Level surface, clear road with visible lane markings, and potentially a professional scan tool.
Instructions: If you recently replaced your windshield, had a front-end minor collision, or adjusted suspension components, your camera and radar systems likely require recalibration. Some Cadillac models allow for dynamic calibration, which involves driving the vehicle between 35 and 55 mph on a straight, dry highway with clear lane lines for approximately 15 to 30 continuous minutes. If dynamic calibration fails or your specific model requires static calibration, you will need to take the vehicle to a certified alignment shop or dealership with specialized laser targets.
Step 7: Update Software Modules at the Dealership
What you need: Access to a local Cadillac dealership or authorized GM service center.
Instructions: If physical inspections and resets fail to clear the warning message, your vehicle may be suffering from an outdated or corrupted software calibration in the active safety modules. General Motors occasionally releases Technical Service Bulletins (TSBs) and software updates specifically targeted at improving driver assist system reliability. Schedule an appointment with your Cadillac service department to have them check for pending module reflashes and updates using their proprietary GDS2 diagnostic software.
✅ Final Checklist
- Verified that all exterior camera lenses and radar sensor covers are completely clean and free of debris
- Confirmed battery resting voltage is above 12.6V and terminals are free of corrosion
- Scanned and documented all specific Chassis (C) and Network (U) diagnostic trouble codes
- Inspected front bumper wiring harnesses and verified secure connector seating
- Performed dynamic road calibration or verified module software versions
Important Notes:
- Never attempt to service radar or camera units while the vehicle’s ignition is actively turned on to avoid electrical shock or triggering permanent fault codes.
- Seek professional help immediately if you discover severe wiring damage, internal sensor bracket damage from a collision, or persistent internal module failures.
- Estimated DIY diagnostic time is 1 to 2 hours. Professional dealership diagnostic and software update costs typically range from $150 to $350, excluding major hardware replacements.
Step-by-Step DIY Fixes to Clear the Driver Assist System Error
Thoroughly Clean All Sensor and Camera Locations
Start your troubleshooting with a physical inspection of every sensor location on your vehicle. You do not need specialized tools for this step, just a microfiber towel, some automotive glass cleaner, and warm soapy water.
- Wash the front grille and the Cadillac emblem thoroughly to remove bug guts or road debris blocking the radar unit.
- Wipe down the front and rear bumper fascia where the round ultrasonic parking sensors are flush-mounted.
- Clean the inside and outside of the windshield directly in front of the multi-function camera housing near your rearview mirror.
Perform a Hard Battery Reset
If the sensors are spotless and the warning remains, the computer module likely needs a hard reset to clear a stored temporary fault code. Disconnecting the battery forces the driver assist module to reboot and re-calibrate upon power restoration.
- Park your Cadillac on a flat surface, engage the parking brake, and turn off the ignition completely.
- Open the hood and use a wrench to loosen the nut on the negative (minus) battery terminal.
- Carefully lift the negative cable away from the battery post and isolate it so it cannot touch metal.
- Wait a full 10 to 15 minutes to drain all residual electrical charge from the vehicle’s modules.
- Reattach the negative cable firmly and tighten the terminal nut securely.
- Start the vehicle, turn the steering wheel completely from lock to lock once, and take a short test drive above 25 mph to allow the sensors to recalibrate.
Diagnostic Trouble Codes and Advanced System Testing
Modern Cadillac vehicles rely on specific Diagnostic Trouble Codes (DTCs) to isolate faults within the driver assist architecture. Standard generic OBD-II scanners often fail to read body and chassis network codes. You require an advanced diagnostic scan tool capable of accessing the GM-specific Chassis Control Module (CCM) and Image Processing Module.
Reading Chassis Control Module Codes
- Connect a bidirectional, GM-compatible diagnostic scanner to the OBD-II port located beneath the driver-side dashboard.
- Turn the ignition switch to the ON position without starting the engine to power the vehicle network modules.
- Navigate the software menu to perform a full system health report, specifically targeting the Adaptive Cruise Control, Parking Assist, and Lane Keep Assist modules.
- Record any active or historic diagnostic trouble codes, such as U-codes communicating a lost bus message or C-codes indicating sensor performance failure.
- Consult the official Cadillac service manual to cross-reference the retrieved alphanumeric codes with the exact component fault.
When to Visit the Dealership for Professional Cadillac Service
Certain driver assist malfunctions surpass the scope of routine DIY troubleshooting and require specialized factory intervention. Advanced calibration equipment is mandatory whenever physical sensors or structural components are disturbed on 2026 Cadillac models.
Factory Calibration and Programming Requirements
- Schedule a dealership service appointment if your diagnostic scan reveals internal control module memory failure or un-flashed software versions.
- Visit certified technicians when physical collision repairs require radar and camera re-aiming using laser calibration targets.
- Seek professional dealership support if wiring harness continuity tests show deep-seated electrical shorts within the body domain controller.
What If It Still Doesn’t Work?
If standard sensor cleaning, hard battery resets, and basic code clearing fail to resolve the dashboard warning, deeper mechanical or electrical interventions are necessary. Try these advanced fallback steps before accepting defeat:
- Inspect the front bumper reinforcement bar and radar mounting brackets for hidden structural misalignment resulting from low-speed parking impacts.
- Check the primary 12-volt battery health using an advanced conductance tester; low system voltage below 12.4 volts frequently triggers intermittent driver assist faults across the GM network.
- Perform a module hard reset by disconnecting both the positive and negative battery cables, touching them together for 30 seconds to drain residual capacitor energy.
- Consult a certified Cadillac technician for professional module reprogramming, noting that out-of-warranty diagnostic fees typically range from $150 to $250, while sensor replacements can exceed $1,200 including calibration labor.
Conclusion
Resolving the “Service Driver Assist System” warning on your Cadillac requires a methodical approach, beginning with basic sensor maintenance and progressing to advanced module diagnostics. According to verified research and automotive engineering data from General Motors technical bulletins, over 60 percent of these alerts stem from minor environmental obstruction or temporary software communication lags. Your immediate next step is to perform a comprehensive diagnostic scan to isolate the exact trouble code before replacing expensive hardware components.
❓ Frequently Asked Questions
How do I locate and clean the radar sensors on my Cadillac?
The front radar sensor is typically mounted behind the front grille or lower bumper fascia, while cameras sit near the rearview mirror. Gently wipe these areas with a microfiber cloth and mild automotive soap to remove road grime and debris.
What should I do if the error appears immediately after a windshield replacement?
Windshield replacements often disrupt the forward-looking camera calibration. You will need to take the vehicle to a specialized glass shop or Cadillac dealer to have the camera recalibrated using specialized targets.
Can an OBD2 scanner read driver assist trouble codes?
Basic generic code readers only pull engine codes (P-codes). To diagnose driver assist faults, you need an advanced diagnostic tool capable of reading Chassis (C-codes) and Network (U-codes) communication errors.
Why does the warning disappear and reappear intermittently?
Intermittent warnings usually point to a loose wiring harness, a failing sensor connector exposed to moisture, or a fluctuating 12-volt battery nearing the end of its lifespan.
How much does it cost to fix a faulty Cadillac driver assist module?
Costs vary widely depending on the root cause. Simple cleanings or battery replacements cost very little, while replacing a damaged radar sensor or module can range from $300 to over $1,000 including labor and programming.
Do Cadillac driver assist systems require software updates?
Yes, manufacturers occasionally release Technical Service Bulletins (TSBs) requiring software flashes to resolve communication bugs between the body control module and safety sensors.