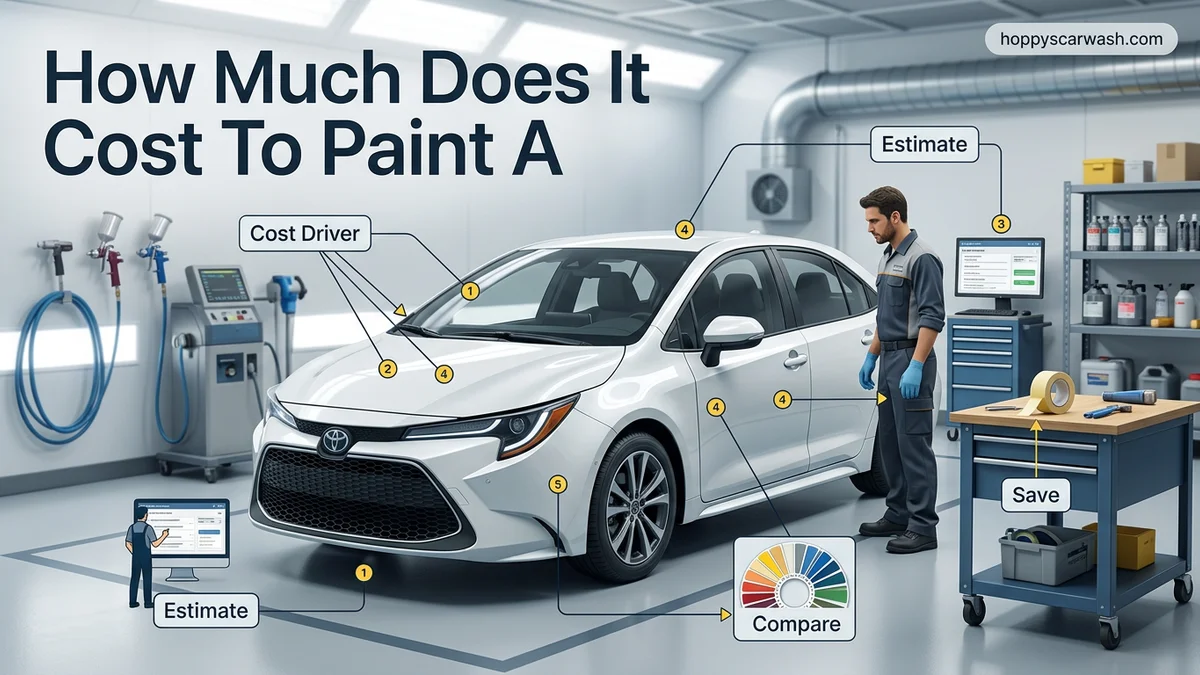
How Much Does It Cost To Paint A Toyota Corolla Cost 2026
Painting a Toyota Corolla generally costs anywhere from $500 to $3,500+ depending on the quality of the paint job and the shop you choose. Budget national chains offer the cheapest resprays, while professional collision centers provide factory-quality finishes at a much higher price.
Painting a Toyota Corolla generally costs between $500 and $4,500, depending entirely on the quality of work you select. A basic, budget-friendly spray from a national chain might run under $1,000, while a meticulous, factory-grade finish at a professional body shop easily surpasses $3,000 in 2026.
Whether your Corolla’s clear coat is peeling from years of sun exposure or you simply want to refresh its appearance, knowing what to expect financially keeps you from overpaying. Let’s break down the exact pricing tiers, labor factors, and service options available for your car.
Key Takeaways
- Budget paint jobs at national chains typically cost between $500 and $1,000.
- Standard professional body shop paint jobs range from $1,000 to $3,000.
- DIY painting materials usually cost between $150 and $400, excluding equipment.
- Body damage, rust repair, and color changes add significant extra costs.
- Clear coat failure and deep scratches require extra prep work before painting.
What Causes the Cost to Paint a Toyota Corolla
Car paint pricing isn’t just about the liquid that goes into the spray gun. When you drop off your Corolla at a shop, you are paying primarily for labor, prep work, and materials.
Labor and Prep Work
Prep work makes up nearly 70 percent of a paint job’s total cost. If your Corolla has dents, rust spots, or deep scratches, technicians must spend hours sanding, filling, and priming before a single drop of paint touches the metal. Removing trim, bumpers, and door handles also adds substantial labor time to the final invoice.
Paint Materials and Finish Quality
The type of paint you choose directly impacts your wallet. Standard single-stage enamels are cheaper, while multi-stage metallic or pearl finishes require more layers and cost significantly more. Furthermore, automotive paint suppliers have seen material price increases heading into 2026, driving up the cost of primers, base coats, and protective clear coats.
2026 Toyota Corolla Paint Expert Practical Guide
Painting a Toyota Corolla is a fantastic way to restore its curb appeal, fix sun-damaged clear coat, or completely change its aesthetic. Because the Corolla is a compact sedan with relatively simple body panels, the project is approachable, but costs can vary wildly depending on whether you DIY or hire a shop. This practical walkthrough breaks down the exact costs, materials, and steps involved in budgeting and executing a professional-grade Corolla paint job.
Step 1: Assessing Your Corolla’s Current Paint Condition
What you need: Good lighting, magnifying glass or inspection light, painter’s tape, and a notepad to record damage.
Instructions: Walk entirely around your Toyota Corolla and inspect every panel. Determine if you are dealing with minor cosmetic clear coat peel, deep scratches down to the bare metal, or existing rust spots, particularly around the rear wheel arches. If your Corolla only has minor fading, a simple sand and respray might suffice. However, if there are dents, rust, or bubbling paint, you will need to factor in extensive body prep and repair costs before a single drop of paint touches the car. Document every flaw to calculate your material or labor requirements accurately.
Pro Tip: Do not skip panel inspection; painting over hidden rust guarantees the corrosion will bubble through your new paint within six months.
Step 2: Choosing Your Paint Service Route and Budget
What you need: Computer or smartphone to research local body shops, calculator, and a budget spreadsheet.
Instructions: Decide whether you want a budget-friendly chain respray (like Maaco, costing $600 to $1,200), a standard neighborhood body shop job ($2,000 to $4,000), a premium color-change restoration ($5,000+), or a DIY garage project ($300 to $600 in materials). For a commuter car like a Corolla, a standard mid-tier shop usually offers the best balance of longevity and cost. Factor in whether you need jambs and the engine bay painted, as a simple exterior-only respray will save you hundreds of dollars.
Pro Tip: Always ask shops if their quotes include tear-down labor (removing headlights, door handles, and trim) or if you need to strip the car yourself.
Step 3: Calculating DIY Material Costs (If Painting Yourself)
What you need: Shopping list, automotive paint supplier website, and inventory of safety gear.
Instructions: If you choose the DIY route, you must budget for specific professional supplies. You will need roughly 1 to 1.5 gallons of base coat matched to your Corolla’s factory paint code (found on the driver-side door jamb), 1 gallon of 2K clear coat, primer, high-build fillers, and a dual-action sander. Do not forget safety essentials: an organic vapor respirator mask, nitrile gloves, and a Tyvek suit. Total DIY material costs typically range from $400 to $700, assuming you already own an air compressor and an HVLP spray gun.
Pro Tip: Buy automotive paint from a dedicated local automotive paint store rather than generic big-box hardware stores for accurate color matching.
Step 4: Factoring in Body Prep and Dent Repair Costs
What you need: Bondo body filler, glazing putty, sandpaper grits (80, 180, 400, 800), and a sanding block.
Instructions: Labor costs in professional body shops are largely driven by prep work. If your Corolla has door dings, hail damage, or parking lot scrapes, expect to pay an extra $150 to $300 per panel for bodywork. If doing it yourself, spend at least two full weekends block-sanding the car. Apply body filler to low spots, feather the edges down to the surrounding factory paint, and apply a self-etching primer over any exposed bare metal to prevent flash rust before the main painting phase.
Pro Tip: Spend 80% of your time on prep work; a bad paint job is almost always the result of rushing the sanding and cleaning steps.
Step 5: Masking and Environment Setup
What you need: Automotive masking paper, fine-line tape, plastic sheeting, degreaser, and lint-free tack rags.
Instructions: Whether at a shop or in your home garage, environment preparation is critical. Mask off all windows, tires, chrome trim, and the front grille of your Corolla using automotive-grade masking paper. Clean the entire vehicle thoroughly with a wax and grease remover, followed by a final pass with a tack rag to capture invisible dust particles. If painting at home, wet the concrete floor down with water to keep dust from kicking up into the air and settling on your fresh clear coat.
Pro Tip: Never use standard blue household masking tape; it leaves heavy adhesive residue and bleeds under automotive solvents.
Step 6: Spraying Primer, Base Coat, and Clear Coat
What you need: HVLP spray gun, compressed air setup with moisture traps, paint mixing cups, and your mixed paint materials.
Instructions: Apply two medium wet coats of primer, allowing flash times between layers. Follow up with 2 to 3 coats of your Corolla’s base coat color, ensuring even 50% overlap on each spray pass to avoid striping or tiger-striping. Finish with 2 to 3 wet coats of high-gloss 2K clear coat for deep shine and UV protection. Maintain a consistent distance of 6 to 8 inches from the Corolla’s body panels and keep your spray gun perpendicular to the surface at all times.
Pro Tip: Watch out for runs and sags; it is always better to spray an extra thin coat than to put it on too heavy and cause a drip.
Step 7: Color Sanding, Buffing, and Reassembly
What you need: 1500 and 2500 grit wet/dry sandpaper, rotary or dual-action buffer, cutting compound, polishing pad, and car wax.
Instructions: Once the clear coat has fully cured (usually 48 to 72 hours), inspect the finish for minor orange peel or dust nibs. Wet sand the panels gently with 1500 grit paper, followed by 2500 grit to flatten the surface. Use a machine buffer with a heavy cutting compound to restore a mirror-like reflection, then finish with a fine polish and protective wax. Finally, carefully unmask your Corolla, reinstall all headlights, emblems, and weatherstripping, and stand back to admire your factory-fresh finish.
Pro Tip: Do not apply traditional car wax or ceramic coatings to fresh paint for at least 30 days, as the paint needs time to outgas and fully cure.
✅ Final Checklist
- Verified factory paint code matches the new paint purchase or shop order
- Inspected all body panels for hidden rust and dents prior to painting
- Calculated total budget including supplies, masking, and potential bodywork
- Completed thorough wash, degreasing, and masking of trim and glass
- Allowed adequate curing time and performed final buffing and reassembly
Important Notes:
- Always wear an organic vapor respirator and work in a well-ventilated area when handling 2K paints containing isocyanates.
- Seek professional help if your Corolla requires structural frame straightening or extensive rust remediation spanning multiple panels.
- Estimated cost range: $400 – $700 for a DIY garage project, or $1,500 – $3,500 for a professional quality body shop respray. Estimated time: 20-40 hours of labor spread over 1 to 2 weeks.
How to Choose the Right Paint Service Tier and Budget
Not all paint jobs are created equal. Matching your budget to your goals for the vehicle will help you avoid spending money on a showroom finish for a commuter car, or wasting cash on a paint job that flakes off in twelve months.
Budget Tiers: What You Get for Your Money
- Budget Tier ($500 to $1,000): Offered mostly by national chain shops. This usually involves minimal prep work, masking instead of removing trim, and a basic single-stage paint application. Best for older Corollas used as daily commuter beaters.
- Standard Tier ($1,500 to $3,000): Performed by independent local body shops. Includes proper dent removal, minor rust repair, component removal, and a durable two-stage base coat/clear coat process. Ideal for keeping your car looking sharp for years.
- Showroom Tier ($3,500 to $5,000+): Premium restoration quality. Includes complete disassembly, high-end urethane paints, color sanding, and polishing. Recommended only if you are restoring a classic Corolla or want factory-better-than-new perfection.
DIY vs. Professional Options
If you want to save money, painting your Corolla in your garage using DIY equipment or aerosol cans will cost between $150 and $400 in materials. However, achieving a professional finish requires specialized spray equipment, a dust-free environment, and extensive practice. For most drivers, investing in a standard professional tier balances cost and long-term durability.
Step-by-Step Guide to Preparing Your Corolla for Painting
Proper preparation is the most critical factor in determining whether your Toyota Corolla paint job looks factory-fresh or amateur. Skipping steps leads to peeling, bubbling, and poor clear coat adhesion. Following a strict procedural workflow ensures maximum durability for your investment in 2026.
1. Deep Cleaning and Decontamination
Begin by washing the Corolla thoroughly with a automotive-grade stripping soap to remove wax, grease, and road grime. Follow the wash with a clay bar treatment to pull embedded industrial fallout and rail dust from the clear coat. Dry the vehicle completely using microfiber drying towels.
2. Disassembly and Masking
Remove exterior components to prevent overspray and ensure paint reaches panel edges cleanly. Unbolt the side mirrors, door handles, headlamps, taillamps, and the front and rear bumpers. Use automotive-grade fine-line masking tape and heavy-duty paper to seal off the windows, windshield, and tires.
3. Sanding and Surface Leveling
Address rust spots, deep scratches, and clear coat failure using wet-and-dry sandpaper. Start with 400-grit sandpaper to feather out paint chips and level deep blemishes. Progress to 800-grit and finish with 1500-grit sandpaper to create an ultra-smooth surface profile that primer and base coat can mechanically grip.
4. Priming and Final Wipe-Down
Apply an automotive primer-sealer over exposed bare metal or body filler to prevent rust formation. Once cured, block-sand the primer lightly with 2000-grit sandpaper. Finally, wipe down the entire Corolla with a lint-free tack cloth and isopropyl alcohol to remove microscopic dust particles just before spraying.
What If It Still Doesn’t Work?
Sometimes, DIY attempts or budget paint jobs do not yield the factory-quality finish you expect. If you notice runs, orange peel texture, or color mismatches after painting your Corolla, specific corrective actions are required to fix the flaws.
- Wet Sanding and Buffing: For minor surface imperfections, orange peel, or dust nibs, gently wet-sand the clear coat with 2000-to-3000 grit sandpaper, then compound and polish the area with a dual-action polisher.
- Spot Blending: If a specific panel does not match the adjacent factory paint, consult a professional body shop for localized blending rather than repainting the entire vehicle.
- Hiring a Certified Professional: When structural paint failure or extensive peeling occurs, take the vehicle to an authorized collision center. Professional correction and full resprays typically range from $2,500 to $6,000 depending on shop labor rates and paint quality.
- Filing a Warranty Claim: If you paid a professional shop for the original respray and the paint prematurely fails, review your service contract and request a warranty remedy under their guaranteed workmanship policy.
Conclusion
Painting a Toyota Corolla requires balancing upfront project costs against long-term cosmetic durability. Whether you choose a budget-friendly DIY kit or invest in a premium professional respray, proper surface preparation remains the ultimate determinant of a flawless finish. According to verified research and automotive industry data from 2026, investing in quality materials and thorough prep work extends the lifespan of a Corolla’s new coat by up to ten years. Take the next step by gathering quotes from at least three certified local body shops to compare warranties and paint packages for your specific vehicle.
❓ Frequently Asked Questions
What factors influence the total cost to paint a Toyota Corolla?
The total cost is heavily influenced by the condition of the current paint, the presence of rust or dents, whether you are changing the vehicle’s color, and the tier of the paint shop you select.
How can I tell if my Corolla needs a respray?
Clear coat peeling, fading paint, widespread oxidation, and extensive surface scratches that catch your fingernail all indicate that a respray is necessary.
What is the difference between single-stage and base coat/clear coat paint?
Single-stage paint combines color and gloss in one application, which is cheaper but less durable. Base coat/clear coat systems provide a deeper shine and better protection against UV rays.
Will insurance cover the cost of painting my Toyota Corolla?
Insurance only covers painting if the damage was caused by a covered collision, vandalism, or a specific accident claim, not for normal wear and tear or fading.
Is a $500 paint job worth it?
A $500 paint job is usually a budget single-stage application with minimal prep work, making it ideal for a quick fix or selling an older car, but it lacks long-term durability.
Can I paint my Toyota Corolla with spray cans?
While automotive spray cans are available for touch-ups or small panels, painting an entire car with spray cans rarely yields a smooth or professional factory finish.