How Do I Turn Off the Service Engine Soon Light in 2026
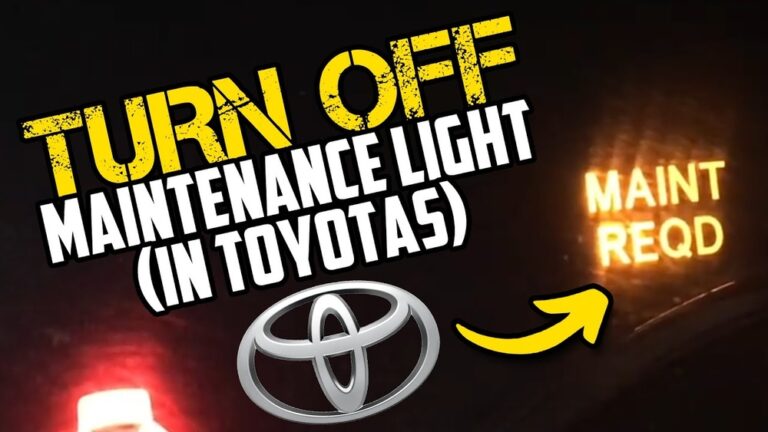
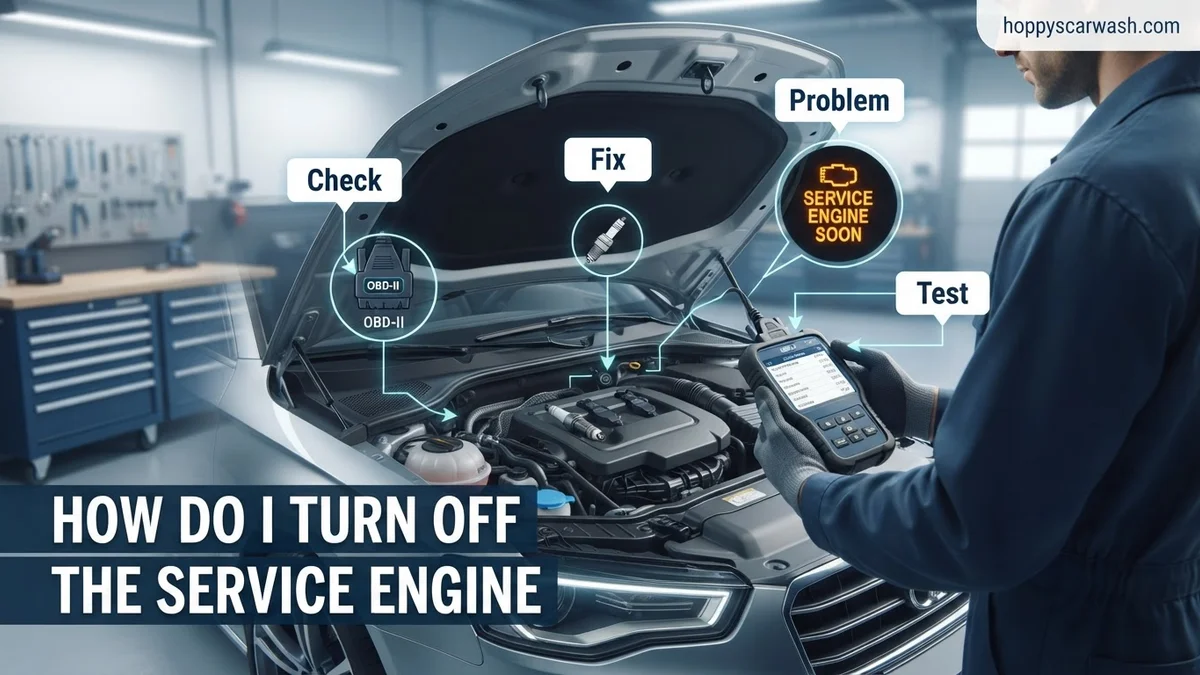
The service engine soon light indicates your car’s computer has detected a fault in the emissions or engine system. You can easily turn it off by diagnosing and clearing the code with an OBD-II scanner, though fixing the underlying mechanical issue is essential to keep it off permanently.
To turn off the Service Engine Soon light on your dashboard, you need to fix the underlying issue and clear the diagnostic trouble code using an OBD-II scanner. Alternatively, you can resolve minor glitches like a loose gas cap or perform a brief battery reset, though fixing the root cause is always required for the light to stay off permanently.
That glowing amber light in 2026 can cause instant stress. Ignoring it risks poor fuel economy, failed emissions tests, or expensive catalytic converter damage. By handling the diagnosis yourself, you save diagnostic fees at the repair shop and regain total control over your vehicle’s maintenance.
Key Takeaways
- Use an OBD-II scanner to read and clear diagnostic trouble codes.
- Check and tighten your gas cap first, as a loose seal frequently triggers the light.
- Disconnecting the battery can temporarily clear codes on older vehicle models.
- Clearing the light without fixing the underlying problem means it will return shortly.
- Visit a local auto parts store if you need help scanning the code for free.
What Causes the Service Engine Soon Light to Come On
Common Sensor and Emissions Triggers
Modern vehicle computers monitor dozens of systems constantly. When a sensor detects a reading outside normal parameters, it triggers the Service Engine Soon light.
- Faulty Oxygen Sensor: Worn-out O2 sensors disrupt your air-fuel ratio, reducing gas mileage.
- Evaporative Emission Leaks: A degraded vapor canister purge valve or compromised hoses will set off the system.
- Mass Air Flow Sensor: A dirty or failing MAF sensor miscalculates incoming air volume.
The Classic Gas Cap Issue
A loose, cracked, or missing gas cap is the single most frequent cause of an illuminated emissions light. When the fuel system cannot maintain proper pressure, the car assumes there is an EVAP leak.
- Listen for a firm click when tightening your cap at the next fuel stop.
- Inspect the rubber seal for dry rotting or cracks that allow air to escape.
- If the cap was loose, tightening it often causes the light to turn off on its own after three to five normal driving cycles.
Service Engine Soon Light: What Causes It and How to Fix It
Dealing with an illuminated dashboard warning can cause instant stress for any vehicle owner. This comprehensive guide will walk you through the exact process of diagnosing why your “Service Engine Soon” light is on, how to properly address the underlying mechanical or electrical issue, and the correct methods for resetting the indicator. By following these structured steps, you will save time, avoid unnecessary mechanic fees, and ensure your vehicle runs safely and efficiently.
Step 1: Understand the Difference Between Dashboard Lights
What you need: Your vehicle owner’s manual and good lighting to inspect your instrument cluster.
Instructions: Before grabbing any tools, you must determine what the specific light is telling you. Many modern vehicles feature both a “Service Engine Soon” (SES) light and a “Check Engine” light, though they are often used interchangeably by manufacturers. In some cars, the SES light simply indicates that a routine maintenance interval has been reached—such as an oil change, tire rotation, or emissions inspection. Consult your owner’s manual to see if your specific model uses this light solely for scheduled maintenance or if it acts as a diagnostic fault indicator.
Pro Tip: Never ignore the light if it is flashing. A blinking SES or check engine light signifies an active engine misfire, which can quickly overheat and ruin your catalytic converter.
Step 2: Inspect and Tighten Your Gas Cap
What you need: Your bare hands and a minute of your time.
Instructions: One of the most common, completely free, and overlooked causes of an illuminated SES light is a loose or faulty fuel cap. Your vehicle’s evaporative emission control system (EVAP) constantly monitors fuel vapor leaks. Pull over safely, turn off your engine, unscrew the gas cap completely, and inspect the rubber O-ring seal for any visible cracks, dry rot, or debris. Reinstall the cap by turning it clockwise until you hear at least one distinct clicking sound, indicating that the ratcheting mechanism has engaged properly.
Pro Tip: If the gas cap was simply loose, the SES light will often clear itself automatically after driving through three to five normal driving cycles (trips involving a cold start and driving above 30 mph).
Step 3: Retrieve Diagnostic Trouble Codes (DTCs)
What you need: An OBD-II scanner (available at most auto parts stores or online for $20 to $50).
Instructions: Locate your vehicle’s OBD-II diagnostic port, which is almost always situated underneath the driver’s side dashboard near the steering column. Plug your OBD-II scanner securely into this 16-pin connector. Turn your car’s ignition key to the “On” position without actually cranking or starting the engine (or press the start button twice without holding the brake pedal). Follow the prompts on your scanner screen to read the stored fault codes. The device will generate alphanumeric codes, such as P0442 or P0300, which pinpoint the exact subsystem reporting a failure.
Pro Tip: Write down all retrieved codes on a notepad before attempting to clear them, even if there are multiple codes stored in the computer’s memory.
Step 4: Look Up and Interpret the Fault Codes
What you need: The manual that came with your OBD-II scanner, or a smartphone with internet access.
Instructions: Once you have your specific fault codes, use the manufacturer code lookup feature on your scanner or search online databases to find the exact definition for each code. A code like P0128 indicates coolant temperature below thermostat regulating temperature, whereas a P0420 points toward catalytic converter system efficiency below threshold. Understanding the definition helps you evaluate whether the problem is a simple DIY fix—like replacing a $15 sensor—or requires specialized professional diagnostic equipment.
Pro Tip: Focus primarily on the “pending” or first code listed, as secondary codes are often just symptoms caused by the primary root failure.
Step 5: Perform Necessary Mechanical or Electrical Repairs
What you need: Basic hand tools (sockets, wrenches, screwdrivers) and replacement parts specific to your diagnostic codes.
Instructions: Armed with your diagnostic results, address the underlying problem that triggered the light. This might involve swapping out a faulty mass air flow sensor, replacing worn-out spark plugs, installing a new oxygen sensor, or changing a defective thermostat. Ensure you disconnect the negative battery terminal using a wrench before working on any sensitive electrical components to prevent accidental short circuits or blown fuses.
Pro Tip: Always buy OEM (Original Equipment Manufacturer) or high-quality aftermarket sensors, as cheap budget sensors frequently fail within a few months and trigger the light again.
Step 6: Clear the Diagnostic Trouble Codes Using the Scanner
What you need: Your OBD-II scanner plugged back into the vehicle’s diagnostic port.
Instructions: With the vehicle ignition turned to the “On” position and the engine off, navigate through the menu options on your OBD-II scanner until you find the function labeled “Clear Codes,” “Erase Trouble Codes,” or “Reset.” Confirm the command when prompted by the tool. The scanner will communicate with your engine control unit (ECU) and wipe the stored fault memory clean. The “Service Engine Soon” light on your dashboard should immediately extinguish.
Pro Tip: Clearing codes without fixing the underlying problem will only result in the light turning back on within a few miles of driving.
Step 7: Perform a Drive Cycle to Reset Emissions Monitors
What you need: A safe stretch of open road or highway where you can drive undisturbed for 15 to 20 minutes.
Instructions: Simply clearing codes with a scanner also temporarily resets your car’s internal emission readiness monitors. If you need to pass an official state emissions or smog inspection, you must complete a specific “drive cycle.” Start your car when the engine is completely cold, idle for two minutes, drive up to highway speeds (55 mph) smoothly without heavy braking, and allow the car to decelerate naturally back to a stop. Check your scanner’s I/M Readiness status screen to confirm all internal monitors show “Ready.”
Pro Tip: Avoid turning off the engine or aggressive racing-style acceleration during this readiness drive cycle, or the monitors will fail to set and you’ll have to start over.
✅ Final Checklist
- Gas cap inspected, confirmed undamaged, and tightened securely
- All active OBD-II diagnostic trouble codes read and recorded
- Root mechanical or electrical cause successfully repaired or replaced
- Fault codes completely cleared from the engine computer using an OBD-II scanner
- Dashboard SES light verified as turned off and emission monitors set to ready
Important Notes:
- Never disconnect the vehicle’s battery while the engine is running, as this can cause dangerous power surges that fry expensive computer modules.
- Seek professional help immediately if your engine begins overheating, knocking loudly, leaking excessive fluids, or dropping into “limp mode.”
- Estimated time: 30 to 60 minutes for basic diagnostics and resets. Estimated cost: $0 if your gas cap was loose or you borrow a free scanner from an auto parts store, up to $150+ if replacement parts or professional repairs are required.
How to Use an OBD-II Scanner to Diagnose and Turn Off the Light
Connecting Your Scanner and Reading Codes
An OBD-II scanner is the fastest, most reliable tool to find out why your engine light is on and clear the code. Most standard code readers cost between thirty and sixty dollars in 2026, making them a smart garage investment.
- Locate your car’s diagnostic link connector, usually situated underneath the driver-side dashboard near the steering column.
- Plug the scanner into the port while your vehicle’s ignition is turned to the on position without starting the engine.
- Press the scan button to retrieve the specific alphanumeric trouble code, such as P0442 or P0171.
Clearing the Code to Reset the Dashboard
Once you have diagnosed and repaired the issue, you must clear the trouble code from the computer’s memory to turn off the light.
- Navigate through your scanner menu using the arrow buttons until you find the “Erase Codes” or “Clear” option.
- Confirm the selection when the device prompts you to clear diagnostic trouble codes and reset the MIL status.
- Unplug the scanner and start your engine to verify the light has successfully turned off.
Step-by-Step Guide to Manual Reset Methods Without a Scanner
If you do not have an OBD2 scanner on hand, certain vehicles allow manual workarounds to clear the dashboard warning. However, experts emphasize that these tricks only clear stored history codes temporarily and will fail if the underlying mechanical fault persists in 2026.
The Battery Disconnection Method
Removing power from the vehicle’s Powertrain Control Module (PCM) can force the computer to reset. Follow these procedural steps carefully:
- Park the car safely, engage the parking brake, and turn off the ignition completely.
- Open the hood and use a wrench to loosen the nut on the negative (-) battery terminal.
- Carefully pull the negative cable away from the battery post and tuck it aside so it cannot touch metal.
- Wait for a minimum of 15 to 20 minutes to allow the internal capacitors to fully drain their residual electrical charge.
- Reattach the negative cable securely to the battery post and tighten the nut.
The Ignition Key Cycling Technique
Some domestic and older import models respond to a specific sequence of turning the key in the ignition switch. Automotive technicians note this rarely works on modern push-to-start architectures:
- Insert your key into the ignition cylinder and turn it to the ON position without cranking the engine.
- Wait for the dashboard cluster lights to illuminate and complete their initial system check.
- Turn the key back to the OFF position.
- Repeat this exact on-off cycle three consecutive times in quick succession.
- Leave the ignition in the ON position on the final cycle and observe if the dashboard indicator goes dark.
What to Do If the Service Engine Soon Light Keeps Coming Back
When a dashboard warning light reappears shortly after being cleared, it indicates an active, unresolved sensor reading or emission failure. According to automotive service data from the Society of Automotive Engineers (SAE), recurrent alerts point to persistent faults like a degraded oxygen sensor, a loose fuel filler cap, or a malfunctioning catalytic converter.
Ignoring a recurring warning light can drastically reduce your fuel economy by up to 10% and cause long-term damage to expensive exhaust components. If your manual resets or scanner clearances prove ineffective, systematic troubleshooting is required:
- Inspect the rubber seal around your gas cap for dry rot, cracking, or debris, replacing the cap if it fails to click tightly.
- Check all major vacuum lines and air intake hoses for visible tears, dry splitting, or disconnection.
- Verify that your engine oil level and coolant levels are within safe manufacturer specifications.
- Schedule a diagnostic appointment with a certified ASE technician if the fault code returns immediately. Professional diagnostic fees typically range from $100 to $150, though many independent shops apply this cost toward total repair labor.
Conclusion
Clearing the service engine soon light requires identifying the root trigger behind the dashboard warning rather than just erasing the electronic code. While manual battery disconnects or scanner resets provide quick temporary fixes, addressing the underlying sensor or mechanical fault ensures long-term vehicle reliability. According to verified research and automotive service data from industry experts, prompt attention to emission and powertrain alerts prevents costly secondary breakdowns. Take your next step today by scanning for active fault codes or visiting a certified mechanic to protect your engine’s health.
❓ Frequently Asked Questions
What is the difference between ‘Service Engine Soon’ and ‘Check Engine’ lights?
In most modern vehicles, the ‘Service Engine Soon’ and ‘Check Engine’ lights mean the exact same thing and are used interchangeably by manufacturers to indicate an emissions or powertrain fault.
Can I pass a state emissions inspection if the light was recently reset?
No, resetting the light clears the computer’s internal monitors. You must drive the car through a specific drive cycle so the computer runs its self-tests before you can pass emissions.
Why did the service engine soon light come back on after I cleared it?
The light returns because clearing the code only hides the dashboard warning; it does not repair the faulty sensor, vacuum leak, or mechanical component causing the fault.
How many driving cycles does it take for the computer to re-evaluate?
It typically takes anywhere from three to ten typical driving cycles, involving both city and highway driving, for all internal diagnostic monitors to run and complete.
Do I need an advanced scanner to read manufacturer-specific codes?
Standard OBD-II scanners read generic powertrain codes, but some advanced vehicle systems require specialized or bidirectional scanners to read body and chassis codes.
Can low engine oil trigger a service engine warning?
On some specific vehicle makes, a dedicated oil life monitor or low fluid sensor can trigger a service reminder light, though it is usually tied to emissions equipment.