How Do I Remove Window Tint From My Car Windows 2026
Removing car window tint requires the right tools, patience, and a specific technique to avoid damaging your glass and rear defroster. Using either the heat method or the ammonia and trash bag method allows you to effectively strip old film and stubborn adhesive residue at home.
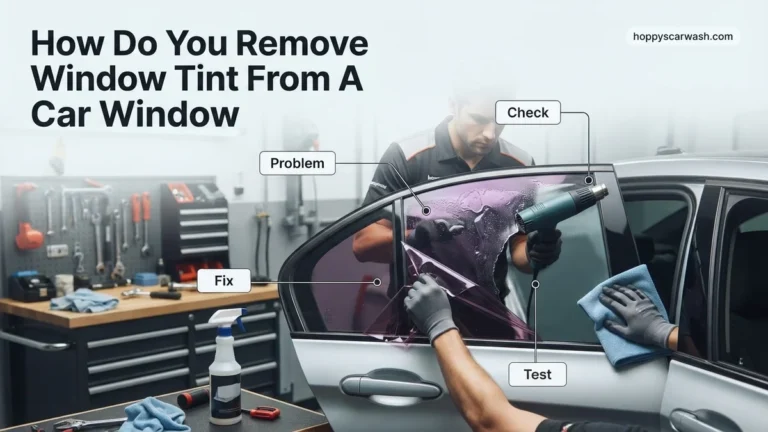
Removing old window tint from your car windows requires patience, a heat source or chemical solvent, and a plastic razor blade to peel away the film and stubborn adhesive without scratching the glass or damaging your rear defroster lines. Whether your tint has turned purple, started bubbling, or you simply need to pass a strict 2026 state inspection, tackling this DIY project saves you hundreds of dollars in professional shop fees.
Doing this job yourself means working carefully around delicate electronics and interior trim. By choosing the right removal method—such as the targeted heat gun technique or the sun-activated ammonia method—you can strip away years of degraded film cleanly and efficiently in your own driveway.
Key Takeaways
- Gather a heat gun, razor blades, soapy water, and ammonia before starting.
- The ammonia and trash bag method uses solar heat to loosen the tint adhesive.
- Exercise extreme caution on rear windows to prevent ruining defroster lines.
- Goo Gone or rubbing alcohol effectively dissolves sticky leftover adhesive residue.
- Work in a shaded, well-ventilated area for the best results.
Why Old Window Tint Fails and Needs Removal
Window tint degrades over time due to constant exposure to UV rays and extreme temperature fluctuations. Knowing why your film fails helps you choose the most effective removal strategy for your specific vehicle condition.
Bubbling, Discoloration, and Purple Hues
- Cheap polyester films break down after 3 to 5 years, turning a distracting purple color.
- Adhesive breakdown creates unsightly bubbles that severely obstruct your field of vision.
- Degraded films become brittle, meaning they will tear into tiny confetti-like pieces instead of peeling off in one sheet.
Protecting Your Rear Defroster Lines
- Rear window tint requires extreme caution because aggressive scraping destroys defroster grids.
- Chemical or heat-softening methods are mandatory on the back glass to preserve electrical connectivity.
- Pulling the film at the wrong angle instantly shears off copper defroster traces.
Window Tint Removal Made Easy: Your Essential Action Plan
Removing old, bubbling, or purple car window tint can feel like a daunting task, but with the right approach and a little patience, you can achieve crystal-clear glass without paying professional shop prices. This comprehensive guide walks you through the proven techniques used by professional detailers to strip away old film and stubborn adhesive entirely, saving your defroster lines and interior trim along the way.
Step 1: Gather Your Professional Arsenal
What you need: Heavy-duty ammonia-based window cleaner (like Windex), black trash bags, a sharp razor blade scraper, a heat gun or garment steamer, soapy water in a spray bottle, microfiber towels, and painter’s tape.
Instructions: Before touching the windows, assemble all your supplies in a shaded, well-ventilated workspace out of direct sunlight. Direct heat can dry out your cleaning solutions prematurely, making the adhesive gummy and much harder to remove. Protect your vehicle’s interior door panels and electronics by laying down absorbent towels along the bottom window seals. Having everything within arm’s reach ensures a smooth, uninterrupted workflow once you start applying heat and chemicals.
Pro Tip: Never use non-ammonia window cleaners for this process; ammonia is the secret chemical agent that breaks down window tint adhesive.
Step 2: Score and Peel the Edge of the Film
What you need: A fresh single-edge razor blade and a steady hand.
Instructions: Roll the car window down by about one to two inches so you can easily access the top edge of the tint. Carefully inspect the top corner and use your fingernail or the corner of the razor blade to gently lift the edge of the tint film. Be extremely cautious not to gouge the glass or cut yourself. Once you have a loose flap of about half an inch, grip it firmly with your fingers and pull slowly and steadily downward across the entire width of the glass. The top layer of polyester film should separate smoothly from the purple adhesive layer underneath.
Pro Tip: Pull the film at a shallow 45-degree angle rather than straight back to minimize the amount of glue left behind on the glass.
Step 3: Apply the Heat and Steam Method
What you need: A handheld garment steamer or heat gun set to a low-medium setting.
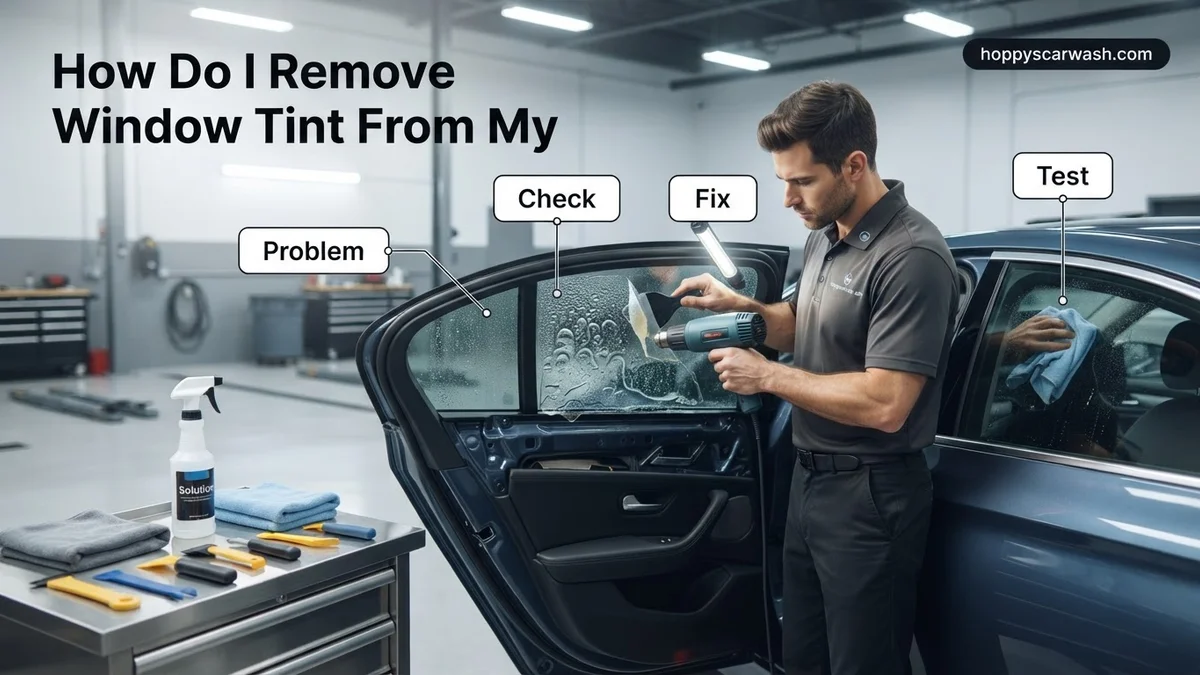
Instructions: For stubborn tints that refuse to peel easily, hold your steamer or heat gun approximately two to three inches away from the exterior of the glass. Slowly sweep the heat source back and forth across a section of the window for 30 to 45 seconds. The heat reactivates the adhesive underneath, allowing you to peel the remaining film and glue off in larger sheets. If using a heat gun, keep it moving constantly to prevent the glass from getting too hot, which can cause it to crack due to thermal shock.
Pro Tip: Never use a heat gun on the rear windshield, as the intense localized heat will easily melt or ruin your rear defroster grid lines and antenna wires.
Step 4: Soak the Residual Adhesive
What you need: Ammonia-based glass cleaner and standard black plastic garbage bags.
Instructions: Once the main plastic film is removed, you will be left with a sticky, tacky layer of purple glue. Generously spray the entire interior glass surface with your ammonia cleaner until it is dripping wet. Next, take a black garbage bag, cut it to roughly match the shape of your window, and press it flat against the wet glass. The plastic wrap traps the moisture and prevents the ammonia from evaporating. Let this sit in direct sunlight for 20 to 30 minutes so the sun’s UV rays heat up the plastic and dissolve the glue.
Pro Tip: Spray the inside of the garbage bag before pressing it onto the window to ensure maximum contact and chemical absorption.
Step 5: Scrape Away the Melted Glue
What you need: A plastic scraper or a single-edge razor blade held in a safety handle.
Instructions: Peel off the plastic trash bag, which will often take a significant amount of the loosened adhesive with it. Spray the window down once more with soapy water or ammonia cleaner to keep the surface lubricated. Hold your razor blade at a shallow 30-degree angle and push it gently across the glass in overlapping, straight strokes. You should see the remaining glue ball up and slide right off the window. Wipe the blade clean with a microfiber towel after every few passes to prevent smearing the sticky residue back onto the clean glass.
Pro Tip: On rear windows with defroster lines, scrape only parallel to the lines—never perpendicular—to avoid scratching or cutting through the electrical traces.
Step 6: Final Polish and Inspection
What you need: Automotive glass cleaner and clean, lint-free microfiber polishing towels.
Instructions: Spray the newly cleaned window thoroughly with a fresh automotive glass cleaner and wipe it down vigorously using a clean microfiber towel. Inspect the glass from various angles under bright lighting to check for any missed streaks, adhesive spots, or tiny film flakes around the edges. Roll the window up completely and clean the top edge that was previously hidden inside the door seal. Repeat the cleaning process on the exterior glass to give you a pristine, factory-clear view.
Pro Tip: Run your bare, clean fingernail lightly across the glass; if it catches on any invisible bumps, you need to re-spray and scrape that spot again.
✅ Final Checklist
- All layers of purple polyester tint film are completely removed from every window.
- No sticky or tacky glue residue remains when tested with a fingernail.
- Rear window defroster lines are completely intact and undamaged.
- Interior door panels, upholstery, and electronics are clean and free of chemical drips.
- Windows roll up and down smoothly without catching on residual adhesive at the edges.
Important Notes:
- Always work in a well-ventilated area because ammonia fumes can be overpowering and harmful to breathe in enclosed spaces.
- If your rear windshield defroster lines are too fragile or you are uncomfortable using razor blades near them, consider taking the vehicle to a professional tint shop.
- Estimated time is 1.5 to 3 hours depending on the number of windows, and the total cost is under $20 if using DIY household and hardware store supplies.
Essential Tools and Materials Required for Tint Removal
Gathering the correct supplies before you start prevents frustrating interruptions and protects your car’s interior from chemical or heat damage. Having professional-grade alternatives on hand makes the scraping process significantly safer.
Must-Have Hardware and Safety Gear
- Heat Source: A standard dual-temperature heat gun or a heavy-duty garment steamer.
- Scrapers: A pack of heavy-duty plastic razor blades (never use metal blades on window film).
- Solvents: Household ammonia in a spray bottle or specialized adhesive remover like Goo Gone Automotive.
- Protection: Microfiber towels, masking tape, and safety glasses to shield your eyes from falling debris and chemicals.
Prep Supplies for Interior Protection
- Absorbent rags or old towels laid along the base of the windows to catch dripping water and chemicals.
- Plastic sheeting and painter’s tape to cover leather seats and delicate door panels from chemical overspray.
- A clean spray bottle filled with soapy water (a few drops of dish soap mixed with warm water) for lubrication.
Step-by-Step Guide on How to Fix and Strip Car Window Tint
Stripping expired or damaged film requires patience and precision to avoid damaging delicate rear defroster grids. Automotive restoration experts recommend tackling this project in a shaded, well-ventilated garage where temperatures remain between 70 and 85 degrees Fahrenheit.
Peeling and Heating the Film
- Cover your interior door panels and rear deck with absorbent microfiber towels to protect electronics from dripping soapy water or chemical residue.
- Hold a professional heat gun or heavy-duty garment steamer approximately 3 to 6 inches away from the exterior glass surface.
- Move the heat source continuously back and forth across a single corner until the adhesive bond begins to soften and release.
- Lift the warmed corner gently using a plastic razor blade or fingernail, taking care not to puncture the thin polyester sheet.
- Pull the film downward at a sharp 45-degree angle in one slow, continuous motion while maintaining steady heat application just ahead of the tear line.
What If Stubborn Adhesive and Tint Residue Still Won’t Come Off
Even after successful film removal, a thick layer of sticky polymer adhesive invariably remains bonded to the glass. Automotive detailers emphasize that scraping dry glue will scratch the window surface permanently. If standard soapy water fails to dissolve this tacky layer, switch to targeted chemical solvents and specialized scraping tools designed for automotive glass restoration.
Advanced Residue Removal Steps
- Spray a generous layer of commercial adhesive remover or 915 isopropyl alcohol directly onto the remaining glue residue.
- Cover the wet solvent with a sheet of clean plastic wrap to prevent rapid evaporation, allowing the chemical to penetrate for 15 to 20 minutes.
- Scrape the softened adhesive away using a fresh plastic razor blade held at a 45-degree angle, wiping the accumulated gunk onto a microfiber towel after every stroke.
- For stubborn rear windshields, use a dedicated fine steel wool grade (0000) soaked in soapy water to buff away remaining specs without severing defroster lines.
- Clean the glass thoroughly with an ammonia-free automotive glass cleaner to remove chemical films before driving.
What If It Still Doesn’t Work?
If DIY removal methods fail due to severely baked-on commercial films or extensive rear defroster risks, secondary fallback measures become necessary. Automotive restoration manuals and professional tint shops recommend the following escalation steps:
- Switch from household ammonia to a dedicated professional-grade citrus solvent formulated specifically to break down cross-linked window film adhesives.
- Use an infrared curing lamp or industrial steamer rented from a local hardware store to apply uniform, deep-penetrating heat across the entire glass surface simultaneously.
- Consult a certified professional tint removal specialist who utilizes specialized steam-extraction chambers and chemical containment systems.
- Budget for professional tint removal services, which typically cost between $100 and $250 depending on the vehicle model and the number of treated windows.
Conclusion
Removing degraded car window tint restores optimal night visibility, legal compliance, and a clean vehicle appearance. By combining controlled thermal energy with safe chemical solvents and plastic scraping tools, car owners can successfully strip old film without scratching expensive glass or ruining delicate defroster lines. According to verified research and expert sources from the International Window Film Association, taking time with the adhesive removal phase prevents costly glass replacements. Make your next step gathering a heat gun, ammonia-based spray, and fresh plastic razor blades to start your restoration project today.
❓ Frequently Asked Questions
How do I remove window tint from my car windows without damaging the defroster?
To protect your rear defroster, avoid using razor blades and harsh scraping. Instead, use the ammonia and trash bag method or warm soapy water with a plastic scraper, moving parallel to the defroster lines.
What household items can I use to take off window tint?
You can use standard household ammonia, liquid dish soap, black trash bags, a spray bottle, and a hair dryer or heat gun as an alternative to professional automotive tools.
Why is the adhesive so difficult to remove after peeling the tint?
The glue cures over time and separates from the polyester film when peeled. Breaking it down requires a solvent like rubbing alcohol, soapy water, or commercial adhesive remover.
How long does it take to strip window tint from all car windows?
The process generally takes between one to three hours, depending on the number of windows, the age of the tint, and the removal method you choose.
Can I remove tint if the film is cracking and coming off in tiny pieces?
Yes, though it requires much more patience. The heat gun method or soaking the window repeatedly with soapy water and ammonia will help soften the fragmented pieces for easier scraping.
Do I need to roll the windows down during the removal process?
It is best to lower the window slightly so you can easily grab and peel the top edge of the tint film once the adhesive begins to release.