Can You Pass Inspection With Check Engine Light Proven 2026
In the vast majority of states, an illuminated check engine light results in an automatic failure for vehicle emissions inspections. Simply clearing the diagnostic codes right before the test will also fail because the computer’s internal readiness monitors must run and complete first.
The short answer is no. In the vast majority of states, your vehicle will automatically fail its emissions inspection if the check engine light is currently illuminated on your dashboard.
State testing facilities in 2026 plug directly into your vehicle computer to scan for active diagnostic trouble codes. Even if your car runs smoothly and passes the tailpipe test with flying colors, an active warning light triggers an instant rejection.
Key Takeaways
- An active check engine light guarantees an automatic emissions inspection failure in almost all states.
- Clearing or resetting trouble codes wipes internal OBD-II readiness monitors, causing an immediate test failure.
- Some states or counties conduct safety-only inspections where an engine light may not disqualify the vehicle.
- Vehicles older than specific OBD-II cutoff years are generally exempt from computer-based emission testing.
- Resolving the underlying mechanical or electrical fault is the only reliable way to pass legally.
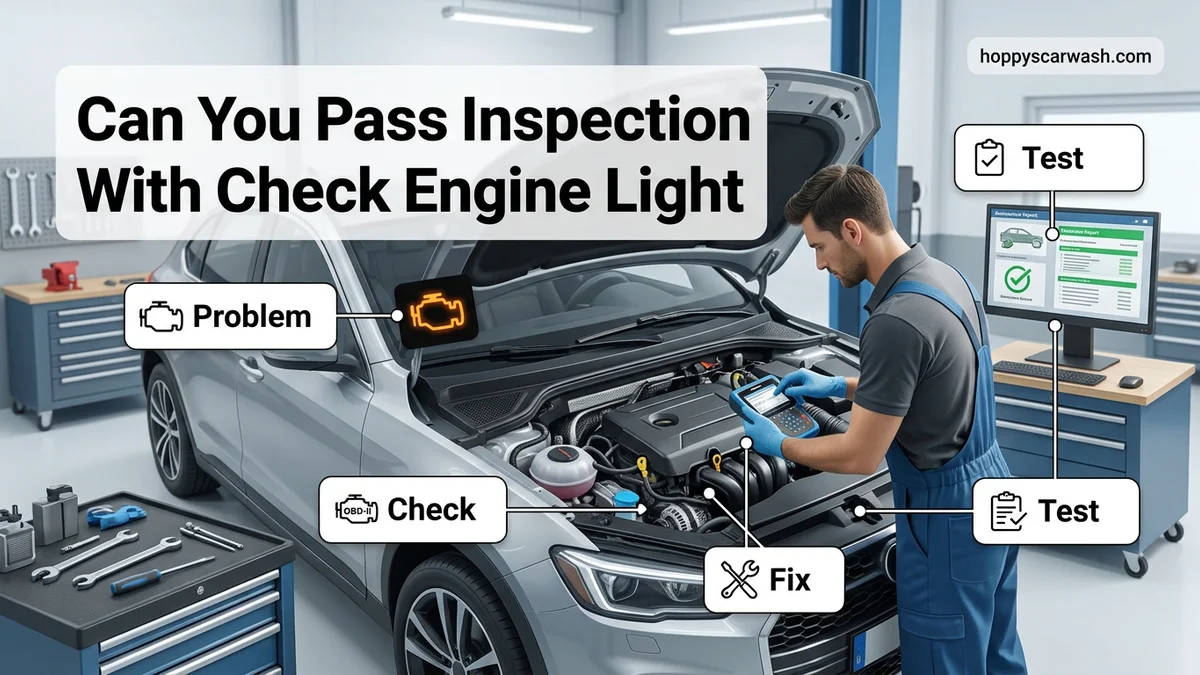
Why an Active Check Engine Light Causes Automatic Inspection Failure
The Regulatory Standard for Emissions Testing
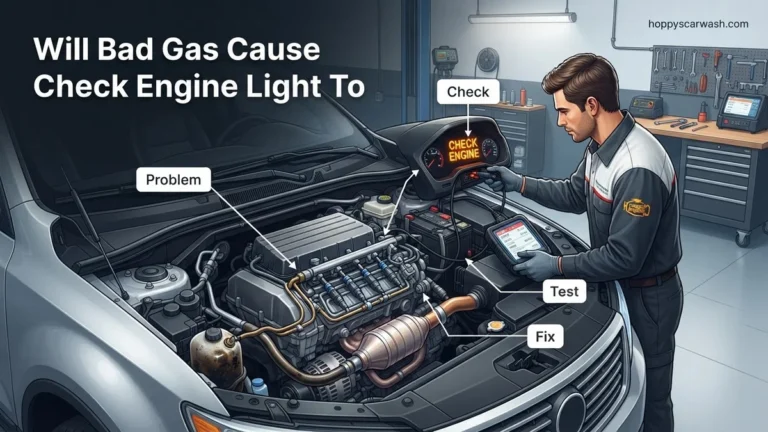
Modern state inspection programs rely on computer-based testing rather than traditional snubber pipes. When the testing technician plugs into your data link connector, the state system immediately reads your engine control unit. If a fault code is present, the testing software overrides everything else and prints a failure report.
- Federal and state clean air mandates require functional emission controls at all times.
- An illuminated check engine light proves a component in the emission system is malfunctioning.
- Testing centers cannot grant waivers simply because the vehicle still drives well.
Safety Versus Emissions Inspection Rules
You need to know the difference between standard safety checks and comprehensive emissions tests. If your region only requires a basic safety inspection checking brakes, tires, and lights, a check engine light might not stop you in a few specific jurisdictions.
- Emissions-dense urban areas and strict states automatically fail any car with an active light.
- Safety-only inspections focus strictly on crash prevention and structural integrity.
- Most populated counties across the country require both checks simultaneously.
Passing Inspection With a Check Engine Light: What Causes It and How to Fix It
Facing a state emissions or safety inspection with an illuminated dashboard warning can be stressful. This practical walkthrough covers everything you need to know about navigating the inspection process when your check engine light is on, helping you understand your state laws, diagnose the underlying mechanical issues, and clear the system properly before heading to the testing station.
Step 1: Check Your Local State Laws Regarding Emissions Testing
What you need: Access to the internet or your state department of motor vehicles (DMV) website.
Instructions: Before spending money on repairs, research your specific state and county regulations regarding check engine lights and emissions testing. In the vast majority of U.S. states that require OBD-II (On-Board Diagnostics) testing, an illuminated check engine light results in an automatic inspection failure. However, some jurisdictions exempt older vehicles (such as cars manufactured before 1996 or vehicles over 25 years old) from emissions testing entirely, meaning a safety-only inspection might allow you to pass despite dashboard lights. Check if your state allows any readiness monitor “not ready” exceptions for older vehicles, which can save you unnecessary repair trips.
Pro Tip: Do not just show up to an inspection station hoping the technician won’t notice. Modern testing stations connect directly to your car’s computer via the OBD-II port, which instantly flags active diagnostic trouble codes (DTCs).
Step 2: Scan Your Vehicle for Diagnostic Trouble Codes
What you need: An OBD-II code reader or diagnostic scanner (available at auto parts stores or online for $20 to $100).
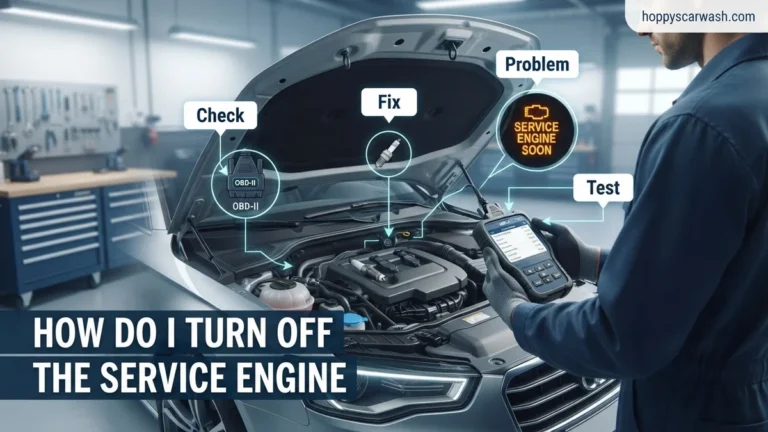
Instructions: Locate your vehicle’s OBD-II port, which is typically situated under the driver’s side dashboard near the steering column. Plug your OBD-II scanner into the port, turn your vehicle’s ignition key to the “On” position without starting the engine, and follow the device prompts to read the stored error codes. The scanner will display alpha-numeric codes (such as P0420 or P0128). Write these codes down along with their brief text descriptions. These codes pinpoint the exact subsystem or sensor that triggered the warning light, allowing you to prioritize which repairs are genuinely necessary to pass inspection.
Pro Tip: Many national auto parts store chains offer free code scanning services in their parking lots if you do not own a personal scanner.
Step 3: Inspect and Tighten Your Gas Cap
What you need: Your bare hands and potentially a replacement gas cap.
Instructions: Believe it or not, a loose, damaged, or missing gas cap is one of the most common and easily fixable reasons for a check engine light. Unscrew your gas cap and carefully inspect the rubber O-ring seal for dry rot, cracks, or debris. Reinstall the gas cap and twist it clockwise until you hear at least one distinct clicking sound, indicating the built-in ratchet mechanism has engaged properly. A loose cap allows fuel vapors to escape, which triggers an evaporative emissions (EVAP) system leak code that causes automatic inspection failure.
Pro Tip: If the gas cap seal looks compromised, purchase a certified OEM replacement cap at an auto parts store for less than $15 before resetting your computer.
Step 4: Perform Necessary Mechanical Repairs
What you need: Basic metric socket sets, wrenches, replacement parts (oxygen sensors, spark plugs, purge valves), or a professional mechanic.
Instructions: Address the root mechanical issues identified by your OBD-II scanner. Common culprits include failing oxygen sensors, faulty mass airflow (MAF) sensors, thermostat issues, or EVAP leak components. If you are handy with tools, purchase quality replacement parts and install them carefully according to your vehicle’s specific repair manual. Torque all bolts to manufacturer specifications and ensure all electrical wiring harnesses and vacuum lines are securely reconnected. If the repair is complex—such as replacing a failing catalytic converter or diagnosing deep electrical shorts—schedule an appointment with a certified automotive technician.
Pro Tip: Never clear codes without fixing the underlying problem first, as the check engine light will simply illuminate again within a few miles of driving.
Step 5: Clear the Trouble Codes from Your Computer
What you need: Your OBD-II scanner or a basic 10-millimeter wrench to disconnect the vehicle battery.
Instructions: Once your repairs are fully completed, you must clear the diagnostic trouble codes from your car’s powertrain control module (PCM). Connect your OBD-II scanner, navigate to the “Clear Codes” or “Erase DTC” menu option, and confirm the deletion. Alternatively, you can disconnect the negative battery terminal for approximately 15 minutes, though this will also reset your radio presets and clock. Clearing the codes turns off the dashboard check engine light and resets the internal emissions readiness monitors back to “Not Ready.”
Pro Tip: Clearing codes right before entering the inspection bay is a guaranteed failure because the testing computer will instantly report that your emissions monitors are “Not Ready.”
Step 6: Complete the OBD-II Drive Cycle to Set Readiness Monitors
What you need: A stretch of highway, local roads, and about 30 to 50 minutes of driving time.
Instructions: After clearing codes, your vehicle’s computer needs to run self-tests on various systems (catalytic converter, oxygen sensors, EVAP system, EGR valve) to prove they are working properly. This is known as achieving “readiness.” To set these monitors, you must perform a specific “drive cycle” which generally involves starting a cold engine, idling for a few minutes, accelerating smoothly up to highway speeds (55-65 MPH) without exceeding 3,000 RPM, cruising for 10-15 minutes, and decelerating naturally. Check your status using your OBD-II scanner’s I/M Readiness monitor feature to ensure all required monitors show “Ready” or “Complete.”
Pro Tip: Most states allow up to one emissions monitor (usually the EVAP system) to remain “Not Ready” on vehicles manufactured after 2001, but older vehicles typically require all monitors to show ready.
Step 7: Head to the Inspection Station and Verify Success
What you need: Valid vehicle registration, proof of insurance, and inspection payment.
Instructions: Once your OBD-II scanner confirms that your check engine light is off and your emissions readiness monitors are set, drive directly to an official state inspection station. Keep your fingers crossed as the technician plugs their testing machine into your data link connector. The system will communicate with your car’s computer, verify that no historic or active trouble codes exist, and check that your readiness monitors have completed their self-tests. Upon successful completion, the technician will apply the inspection sticker to your windshield or hand you your passing certificate.
Pro Tip: Drive your vehicle for at least 15 minutes right before your inspection appointment to ensure your engine is fully warmed up and operating at optimal temperatures.
✅ Final Checklist
- Verified state emissions laws and whether check engine light causes automatic failure
- Scanned and recorded all diagnostic trouble codes using an OBD-II tool
- Inspected, tightened, or replaced a faulty or loose gas cap
- Completed all required mechanical repairs for sensor or emission faults
- Cleared trouble codes and successfully performed the proper OBD-II drive cycle
- Confirmed via scanner that all necessary emissions readiness monitors show “Ready”
Important Notes:
- Never drive with severe engine misfires or flashing check engine lights, as this can permanently destroy your catalytic converter.
- Seek professional mechanic assistance if your repair attempts do not clear the codes or if you lack specialized diagnostic equipment.
- Estimated DIY repair costs range from $15 (gas cap) to $200 (sensors), while professional mechanical repairs and catalytic converters can range from $300 to $1,500+. Time investment varies from 1 to 3 days depending on driving cycles.
How OBD-II Readiness Monitors Block Last-Minute Code Resets
The Reset Trap and Not Ready Status
Many drivers think they can outsmart the system by disconnecting the battery or using an inexpensive code reader to clear the light right before pulling into the testing bay. This strategy almost always fails because of internal computer diagnostics known as readiness monitors.
- Clearing codes wipes the dashboard light, but it also resets all internal system monitors to “not ready.”
- Inspection computers explicitly scan these readiness flags during the diagnostic handshake.
- A vehicle reporting multiple “not ready” monitors will be turned away or marked as an automatic test failure.
Drive Cycle Requirements Explained
Your vehicle computer needs to run self-tests on systems like the catalytic converter, oxygen sensors, and evaporative emissions before it can pass. These tests only run when you complete a specific sequence of driving conditions called an OBD-II drive cycle.
- You typically must drive between 50 and 100 miles under mixed highway and city conditions.
- Cold starts and specific throttle positions are required for internal sensors to log a passing status.
- Trying to pass an inspection immediately after clearing a code guarantees a rejection due to incomplete monitors.
Step-by-Step Guide to Diagnosing and Fixing the Underlying Fault
Fixing an illuminated dashboard warning before a 2026 vehicle examination requires a methodical approach. According to automotive service standards set by the Society of Automotive Engineers (SAE), technicians follow a strict diagnostic procedure to isolate faulty components without wasting money on guesswork.
Diagnostic and Repair Protocol
- Connect a standard OBD-II scanner to the diagnostic link connector beneath the driver-side dashboard to retrieve active diagnostic trouble codes.
- Cross-reference the retrieved alphanumeric codes with manufacturer service bulletins to identify known failure patterns for your specific make and model year.
- Inspect the physical components related to the fault code, paying close attention to wiring harnesses, vacuum lines, and sensor connections.
- Replace the defective part using OEM-certified components to ensure long-term reliability and compliance with factory emissions thresholds.
- Clear the trouble codes using the scan tool and execute a complete drive cycle to reset all internal emission monitors.
Following this precise sequence prevents recurring dashboard warnings and ensures the vehicle meets all environmental regulations.
What to Do If Your State Only Requires a Safety Inspection
If you live in a jurisdiction that strictly enforces mechanical safety evaluations rather than emissions testing, your diagnostic requirements change significantly. Motor vehicle departments in states like Florida or Pennsylvania focus entirely on structural integrity, braking efficiency, and roadworthiness.
Safety vs. Emissions Evaluation Criteria
- Component Focus: Inspectors examine brake pad thickness, tire tread depth, steering linkage, suspension components, and exterior lighting systems.
- Dashboard Warnings: In purely safety-focused states, an active emissions-related warning light typically does not cause an immediate failure.
- Exceptions: If the warning lamp indicates a critical safety malfunction—such as an ABS or airbag system failure—the vehicle will fail immediately regardless of state guidelines.
Always verify local Department of Motor Vehicles regulations for 2026 before scheduling your appointment, as regional enforcement policies can shift rapidly based on municipal air quality standards.
What If It Still Doesn’t Work?
If you have cleared the fault codes and replaced faulty parts, but the warning light immediately returns or monitors refuse to ready, targeted troubleshooting is required. Complex electrical issues often demand professional intervention.
- Check the vehicle battery voltage with a multimeter, as a dying battery or corroded terminals often trigger false intermittent electronic fault codes.
- Inspect the gas cap gasket for microscopic dry rot or tears, which accounts for nearly 15 percent of all minor evaporative system failures.
- Consult an ASE-certified professional technician to perform advanced oscilloscope testing if persistent computer communication errors occur.
- Prepare for professional diagnostic labor rates, which currently range from $120 to $200 per hour across most certified service centers.
Conclusion
Entering an annual vehicle evaluation with an active dashboard warning light almost always results in an automatic rejection in emissions-tested regions. Resolving the underlying sensor, ignition, or fuel system fault before your visit saves time and avoids costly re-test fees. According to verified research and expert sources from the National Institute for Automotive Service Excellence, clearing codes without making physical repairs will result in test failure because internal readiness monitors require genuine driving cycles to reset. Schedule a diagnostic scan today to ensure full compliance.
❓ Frequently Asked Questions
Why does clearing code error memory cause an inspection failure?
When you clear trouble codes using an OBD-II scanner or by disconnecting the battery, it resets the internal readiness monitors to an uncompleted state. Inspection computers specifically scan these monitors, and any uncompleted status registers as an automatic failure.
Can I get a temporary waiver if my check engine light won’t turn off?
Some states offer conditional waivers or extensions if you have spent a specific minimum amount of money trying to fix emissions-related failures without success. Availability and financial limits vary heavily by local department of motor vehicles regulations.
What common issues trigger a check engine light during testing?
The most frequent culprits include a loose gas cap, a failing oxygen sensor, a worn-out catalytic converter, or a malfunctioning evaporative emissions (EVAP) system leak. These faults directly trigger the Malfunction Indicator Lamp.
Do safety-only inspections check the check engine light?
In regions that perform safety-only inspections focusing strictly on brakes, tires, steering, and lights, an emissions-related check engine light is usually disregarded. However, any light indicating a critical safety or brake system malfunction will still fail.
How can I check if my car’s readiness monitors are set?
You can plug an inexpensive OBD-II scanner into your vehicle’s port and check the I/M Readiness status screen. If all required monitors display green or ‘Ready’, your car is ready for the emissions testing facility.
Is it possible for a check engine light to turn off on its own?
Yes, if a transient issue occurred—such as a loose gas cap that was subsequently tightened—the vehicle’s computer may clear the code after several consecutive fault-free driving cycles. However, waiting for this to happen spontaneously before an inspection deadline is risky.