What to Do After Replacing Mass Air Flow Sensor 2026 Guide
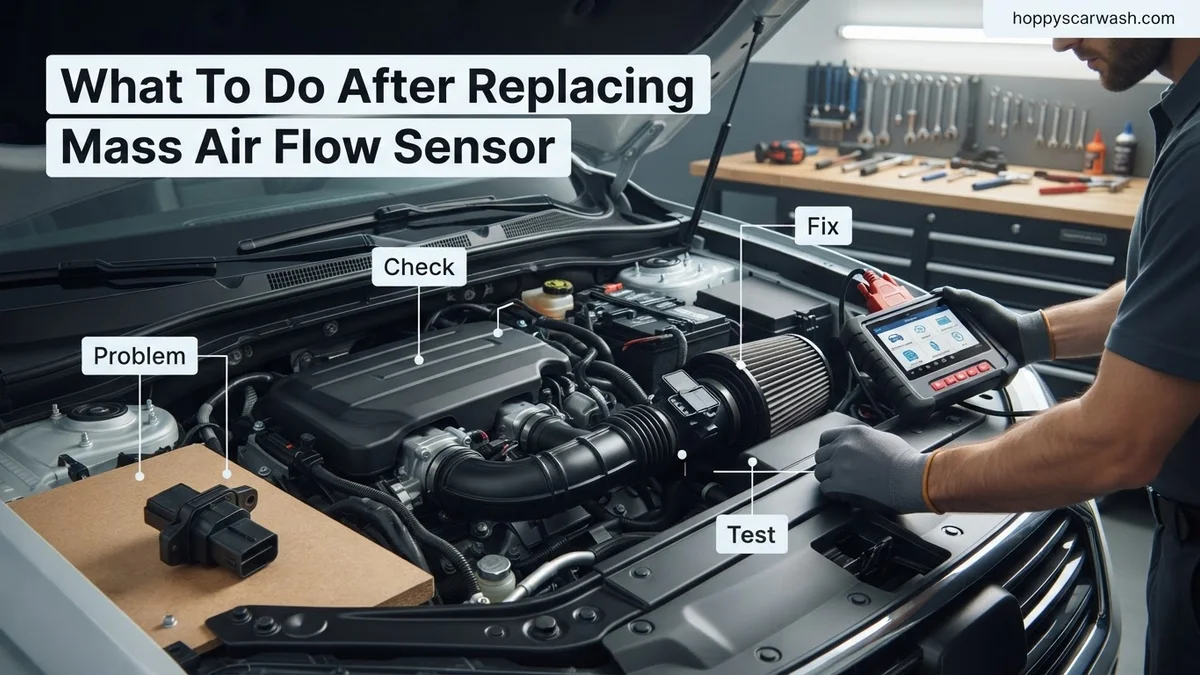
After installing a new mass air flow sensor, you must clear stored diagnostic trouble codes using an OBD2 scanner and perform an idle relearn procedure. Taking these steps ensures the engine control unit correctly adapts to the new airflow data and eliminates rough idling.
You just bolted in your brand-new Mass Air Flow sensor, but your job isn’t quite finished yet. Simply installing the new part does not mean your car’s computer instantly knows it’s there. The Engine Control Unit (ECU) has spent months adapting its fuel trims to compensate for a failing, dirty, or erratic sensor signal.
Failing to clear the old adaptations and reset your computer in 2026 can lead to lingering rough idles, stubborn check engine lights, and poor fuel economy. To make your car run right immediately, you need to clear the diagnostic trouble codes, reset the long-term fuel trims, and execute a proper idle relearn procedure.
Key Takeaways
- Clear all stored OBD2 trouble codes immediately after installation.
- Perform an idle relearn procedure so the computer adjusts properly.
- Take a controlled test drive to let the ECU recalibrate.
- Inspect all vacuum lines and electrical connections if issues persist.
- Check fuel trim levels using a scanner to verify normal operation.
Why the ECU Requires a Reset After MAF Sensor Replacement
Your vehicle’s computer relies on continuous data feedback to keep the air-fuel mixture balanced at an ideal 14.7:1 ratio. When a MAF sensor fails, it typically reports incorrect air volume measurements. Over time, the ECU notices these discrepancies and writes compensation data into its memory, known as short-term and long-term fuel trims (STFT and LTFT).
Lingering Fuel Trims Cause Runability Issues
If your old MAF sensor was under-reporting airflow, your ECU was likely adding extra fuel to compensate. When you install a fresh, accurate sensor, those old positive fuel trims are still active in the computer’s memory. This means the engine will initially run rich until the system naturally corrects itself, which can take days of driving and trigger a new round of frustrating dashboard lights.
Clearing the Slate for Maximum Efficiency
By forcing a system reset, you wipe out the corrupted compensation data instantly. The ECU returns to its factory baseline programming and begins reading the clean, precise voltage data from your new MAF sensor right away. This guarantees optimal power delivery, clean emissions, and maximum fuel efficiency from the very first key turn.
- Erases old error codes tied to erratic air readings
- Resets learned fuel trim values back to zero
- Prevents secondary components from over-compensating
- Ensures instant throttle response on your first test drive
Master Mass Air Flow Sensor Replacement in 6 Simple Steps
Replacing a failing Mass Air Flow (MAF) sensor is a rewarding DIY task that can restore your vehicle’s fuel economy, acceleration, and idle smoothness. However, simply bolting the new part into place is only half the battle. To ensure your engine computer properly adapts to the new hardware and clears out lingering fault codes, you must follow a precise post-installation routine. This comprehensive guide walks you through the essential verification, resetting, and testing procedures required after you finish installing your new MAF sensor, ensuring your car runs at peak performance.
Step 1: Double-Check All Mechanical Connections
What you need: Visual inspection, flashlight, and the hand tools used during installation (screwdriver or socket set).
Instructions: Before even turning the key, perform a thorough physical audit of the entire intake tract. Ensure the MAF sensor housing is securely bolted or clamped in place with no gaps that could let unmetered air bypass the sensor. Verify that the electrical wiring harness connector is pushed firmly onto the MAF sensor pins until you hear a distinct audible click. Finally, push the secondary locking tab—if your vehicle is equipped with one—into the locked position to prevent the plug from vibrating loose over time.
Pro Tip: Never rely on guesswork; gently tug on the wiring harness (not the wires themselves) to confirm the locking clip has fully engaged.
Step 2: Inspect the Air Filter Box and Ducting
What you need: Flashlight, clean shop rag, and possibly a socket set for securing hose clamps.
Instructions: During the replacement process, it is easy to accidentally misalign the air filter box lid or leave a rubber intake boot slightly askew. Inspect all rubber bellows, vacuum lines that tap into the intake stream, and the connection running from the airbox to the throttle body. Tighten all worm-gear hose clamps securely, but avoid over-tightening, which can strip plastic housings or slice through silicone and rubber boots. A secure, airtight seal guarantees that all incoming air passes directly through the newly installed MAF sensor.
Pro Tip: Spraying a tiny bit of soapy water around intake joints while the engine is running later can help you detect bubbling air leaks, though a simple visual and tactile check usually suffices.
Step 3: Reset the Engine Control Unit (ECU)
What you need: OBD2 scanner or basic hand wrench for battery terminal removal.
Instructions: Your vehicle’s computer has spent months learning fuel trim compensations based on a failing, dirty, or malfunctioning MAF sensor. To clear these old, corrupted fuel trims instantly, you should reset the ECU. The easiest method is using an OBD2 scanner to clear all diagnostic trouble codes (DTCs). Alternatively, disconnect the negative battery terminal for approximately 15 to 20 minutes, then reconnect it securely. This hard reset forces the computer to wipe its adaptive memory and start fresh with baseline factory parameters.
Pro Tip: Disconnecting the battery may also reset your radio presets and clock, so be prepared to reprogram your cabin electronics afterward.
Step 4: Perform the Initial Idle Calibration
What you need: Vehicle keys and a quiet environment.
Instructions: Turn the ignition key to the ON position (engine off) for 10 seconds without starting the car. This allows the ECU to power the MAF sensor’s internal hot wire and register baseline ambient temperatures. Next, start the engine, but keep all electrical accessories—such as the air conditioning, radio, and headlights—turned completely off. Allow the engine to idle uninterrupted for 5 to 10 minutes. During this window, the computer will actively monitor the new MAF sensor data and recalibrate the idle air control valve to achieve a smooth, stable idle speed.
Pro Tip: Do not touch the gas pedal during this initial idle period, as interrupting the computer’s learning cycle can result in a rough or erratic idle.
Step 5: Conduct a Controlled Road Test
What you need: A safe driving route combining city streets and a highway.
Instructions: Once the idle has stabilized, take your vehicle out for a 15-to-20-minute test drive. Begin with gentle acceleration through city streets, noting how smoothly the transmission shifts and how the engine responds when you tip into the throttle. Next, find an open stretch of road or highway where you can safely accelerate up to cruising speed. Pay close attention to hesitation, lagging, or surging. The new MAF sensor should provide immediate, linear throttle response without any hesitation or sudden RPM drops.
Pro Tip: Drive through various load conditions, including moderate acceleration up hills, to ensure the sensor accurately reads high-volume airflow rates.
Step 6: Monitor OBD2 Readiness Monitors and Codes
What you need: OBD2 diagnostic scanner or code reader.
Instructions: After returning from your test drive, plug your OBD2 scanner back into the vehicle’s diagnostic port under the dashboard. Check for any pending or permanent diagnostic trouble codes. A successful repair will show a clean slate with no active P0100, P0101, P0102, or P0103 MAF-related codes. Additionally, check your readiness monitors to see if the computer has successfully run its internal self-tests for components like the catalytic converter, oxygen sensors, and evaporative emissions system.
Pro Tip: If certain readiness monitors remain incomplete, you may need to drive an additional mixed cycle of city and highway miles for the computer to finish its self-diagnostics.
✅ Final Checklist
- MAF sensor electrical connector is firmly clicked and locked into place
- All intake ducting and hose clamps are securely tightened with no air leaks
- ECU has been reset to clear old long-term and short-term fuel trims
- Engine successfully completes a 10-minute idle relearn procedure without accessories
- Road test confirms smooth acceleration, steady idle, and zero hesitation
- OBD2 scanner confirms no active diagnostic trouble codes remain
Important Notes:
- Always disconnect the battery negative terminal before working on sensitive electronic engine components to prevent accidental short circuits.
- If engine performance issues persist after a new MAF sensor installation and ECU reset, consult a professional mechanic to check for underlying issues like vacuum leaks, clogged fuel filters, or failing oxygen sensors.
- Estimated time for post-installation procedures: 30 to 45 minutes (including test driving and idle relearn). Cost: Free (requires only basic tools or a standard OBD2 scanner).
Step-by-Step Guide to Clearing Codes and Resetting the Computer
Getting your ECU to forget its old habits requires a systematic approach. While you can simply disconnect the battery, modern 2026 vehicles often require explicit OBD2 code clearing and specific idle relearn steps to ensure all electronic modules sync correctly without losing radio presets or transmission maps.
Using an OBD2 Scanner to Clear Codes
The cleanest way to reset your computer is with a handheld OBD2 scan tool or a smartphone diagnostic app. Plug the scanner into the port usually located beneath your steering column, turn the ignition key to the ON position without starting the engine, and navigate to the “Clear Trouble Codes” or “Clear DTCs” menu.
- Plug your OBD2 scanner into the vehicle diagnostic port
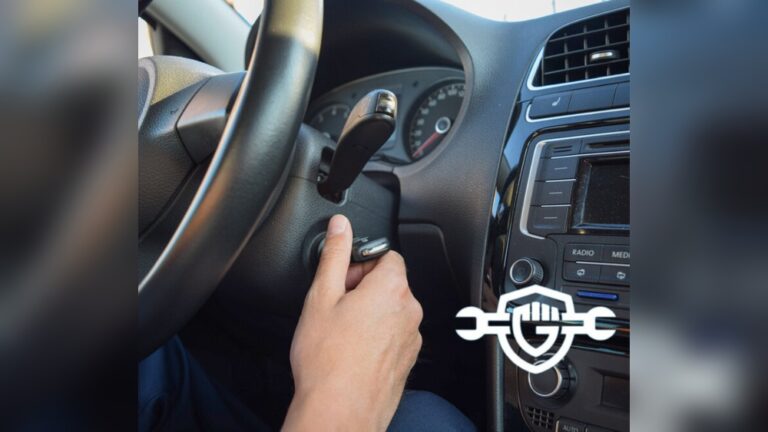
- Turn the ignition to the ON position (engine off)
- Select the clear/erase fault codes option on the tool interface
- Verify that the dashboard check engine light turns off completely
The Battery Disconnect Method
If you do not have an OBD2 scanner handy, you can clear the Keep-Alive Memory (KAM) by cutting power to the ECU manually. Grab a wrench, disconnect the negative battery terminal, and leave it detached for roughly 10 to 15 minutes. This safely drains the residual electrical charge stored in the capacitors and forces a hard reset of the vehicle’s computer system.
- Turn off all vehicle accessories and remove the ignition key
- Loosen the nut on the negative (-) battery terminal using a wrench
- Lift the cable away from the battery post and wrap it in a clean shop towel
- Wait 15 minutes before reattaching and securely tightening the terminal clamp
How to Execute the Idle Relearn and Proper Test Drive
Modern vehicle computers require a specific recalibration period after installing a new mass air flow sensor. Without this vital procedure, your engine may experience rough idling or unexpected stalling. According to automotive service data from Mitchell 1, completing a proper idle relearn sequence allows the Powertrain Control Module to update its fuel trim baselines for 2026 driving standards.
Follow these precise steps to complete your idle relearn procedure successfully:
- Ensure all electrical accessories, including the air conditioning, radio, and headlights, are completely turned off.
- Start the vehicle engine and allow it to reach normal operating temperature without touching the accelerator pedal, which usually takes about five to ten minutes.
- Shift the transmission into Drive if you drive an automatic, or leave it in Neutral with the parking brake engaged for manual vehicles, maintaining this idle state for exactly three minutes.
- Turn off the ignition completely for at least ten seconds to allow the computer to permanently store the new idle parameters in its memory.
Once the idle relearn procedure finishes, take your car on a structured test drive. Drive for approximately 10 to 15 miles across a mixture of surface streets and highway conditions. Accelerate smoothly through the gear ranges to let the computer sample various airflow frequencies. This dynamic driving cycle ensures the long-term and short-term fuel trims fully stabilize.
What to Do If the Check Engine Light Returns
Sometimes a new mass air flow sensor does not permanently solve your vehicle hesitation issues. If your check engine light illuminates again shortly after your test drive, underlying problems likely require deeper investigation. Automotive diagnostic databases indicate that persistent codes often stem from secondary faults rather than a defective replacement part.
Common Causes for Returning Fault Codes
- Intake Air Leaks: Cracks in the rubber boot or loose hose clamps allow unmetered air to bypass the sensor completely.
- Contaminated Wiring: Corrosion or oil residue inside the electrical harness plug can disrupt the sensor signal voltage.
- Clogged Catalytic Converters: Restricted exhaust flow creates backpressure that mimics poor airflow readings.
If you cannot isolate the root cause yourself, seek professional help from a certified technician equipped with advanced bi-directional scan tools. Professional diagnostic labor typically costs between $100 and $200, depending on regional shop rates.
Conclusion
Replacing a faulty mass air flow sensor restores proper engine performance, fuel economy, and emissions compliance. Successfully executing the post-installation reset and idle relearn procedures ensures your vehicle computer adapts quickly to the new hardware. According to verified research and expert sources in the automotive repair industry, addressing airflow issues promptly prevents secondary damage to expensive components like oxygen sensors and catalytic converters. Take the next actionable step today by monitoring your fuel economy closely over the next two full tank refuels to verify the repair.
❓ Frequently Asked Questions
Do I need an OBD2 scanner after replacing a mass air flow sensor?
While some vehicles reset automatically after several drive cycles, using an OBD2 scanner is the fastest and most reliable way to clear diagnostic trouble codes and check system readiness.
What happens if I don’t clear the computer after a MAF replacement?
If you do not clear the computer, the engine control unit may continue using old fuel trim adjustments, resulting in rough idling, poor acceleration, and a persistent check engine light.
How many miles does it take for a car to recalibrate after a MAF swap?
Most vehicles require between 10 and 30 miles of mixed driving conditions, including both stop-and-go city traffic and steady highway cruising, to fully recalibrate.
Why is my check engine light still on after changing the sensor and clearing codes?
If the light returns, you may have a secondary issue such as an intake vacuum leak, a dirty throttle body, or a wiring harness fault that mimics a failing MAF sensor.
Should I disconnect the battery to force an ECU reset?
Disconnecting the battery will clear temporary memory, but modern vehicles often lose customized radio settings and require security re-entry, making an OBD2 scanner a better choice.
How do I know if the idle relearn procedure was successful?
A successful idle relearn will result in a smooth, steady engine idle speed (usually between 650 and 800 RPM) without fluctuating or dropping when electrical loads are applied.