
Can Lacquer Thinner Clean a Catalytic Converter in 2026
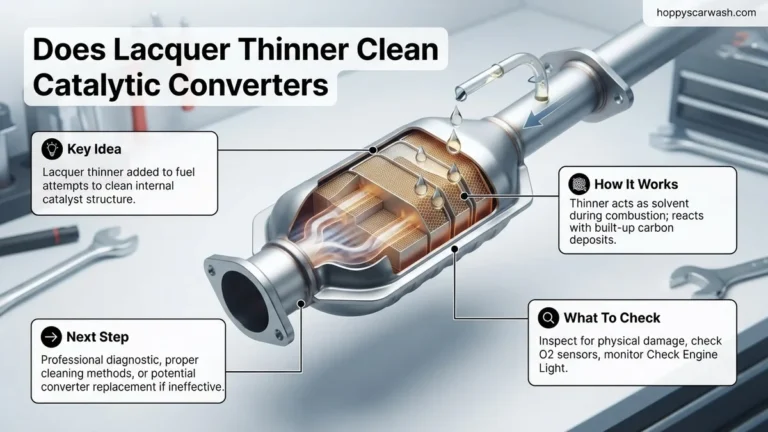
Pouring lacquer thinner into your gas tank will not reliably clean a clogged catalytic converter and poses severe risks to your engine. While it is a popular mechanic myth, this solvent can permanently ruin expensive oxygen sensors and damage fuel system components. Professional diagnosis and proper replacement remain the only guaranteed solutions for a failed exhaust catalyst.
Pouring lacquer thinner into your gas tank to clean a clogged catalytic converter is a persistent mechanic’s myth, but the short answer is that it is risky, largely ineffective by 2026 standards, and potentially disastrous for your modern exhaust system. While DIY automotive forums have debated this solvent-based trick for over two decades, modern engine management and emissions equipment cannot tolerate harsh industrial solvents the way older carbureted vehicles might have.
When your check engine light triggers a P0420 code indicating catalyst efficiency below threshold, finding a cheap fix is tempting. Replacing a catalytic converter on a modern vehicle often costs well over $1,500 including labor. Before you dump a quart of hardware store lacquer thinner into your fuel tank hoping for a miracle, you need to understand what actually clogs these emissions components, how to properly diagnose the restriction, and why chemical shortcuts frequently backfire.
Key Takeaways
- Lacquer thinner does not effectively dissolve heavy carbon buildup inside a catalytic converter.
- Using harsh solvents can easily destroy oxygen sensors and spark plugs.
- Fuel injectors and fuel pumps risk severe chemical damage from lacquer thinner.
- Proper diagnostics help determine if the converter is truly clogged or just failing.
- Approved catalytic converter cleaner additives offer a safer, though limited, alternative.
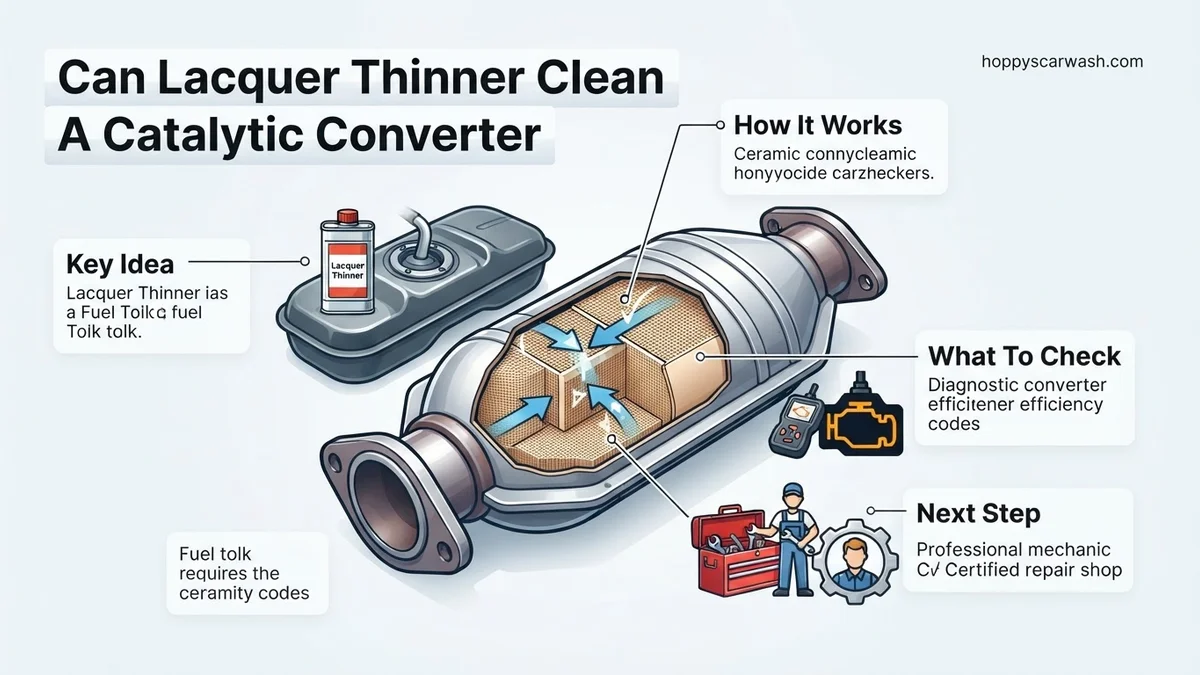
What Causes Catalytic Converter Clogging and Failure
The Root Cause: Unburnt Fuel and Oil Consumption
Catalytic converters do not simply get dirty from normal driving; they fail because something is wrong upstream in your engine. When liquid fuel or engine oil enters the exhaust stream, it bakes onto the precious metal honeycomb inside the converter. By 2026, stricter fuel formulations and advanced direct-injection engines mean this contamination usually stems from specific mechanical failures, such as:
- Worn piston rings or failing valve seals burning excess engine oil.
- Misfiring spark plugs or leaking fuel injectors dumping raw gasoline into the exhaust.
- Faulty oxygen sensors causing the engine computer to run in an excessively rich fuel state.
- Coolant leaks into the combustion chamber from a failing head gasket.
Carbon Buildup Versus Structural Melting
Car owners often assume a clogged converter is just coated in black soot that a strong solvent like lacquer thinner can dissolve. In reality, modern catalysts operate at extreme temperatures, often exceeding 1,200 degrees Fahrenheit. If raw fuel ignites inside the converter housing, the ceramic substrate melts and deforms permanently. No chemical solvent, including lacquer thinner, can un-melt a ruined ceramic honeycomb. Understanding this distinction saves you from wasting money on unproven fuel additives that cannot reverse physical thermal damage.
Master Catalytic Converter Cleaning in 8 Simple Steps
Can lacquer thinner clean a catalytic converter? It is a common DIY question born out of a desire to bypass expensive mechanic bills when a P0420 efficiency code pops up on the dashboard. While pouring solvents into the gas tank is an old-school mechanic legend for clearing out carbon deposits, it is also a controversial and potentially dangerous method. This comprehensive guide walks you through the harsh realities, safety protocols, and realistic expectations of attempting to clear a clogged exhaust catalyst using chemical solvents, while prioritizing the health of your engine and your personal safety.
Step 1: Understand the Risks and Realities
What you need: An OBD2 scanner, patience, and a willingness to accept potential risks to your vehicle’s emission system.
Instructions: Before you even open a can of solvent, you need to understand that lacquer thinner is a harsh industrial solvent, not a federally approved fuel additive. While some shade-tree mechanics swear that a gallon of lacquer thinner mixed into a nearly empty gas tank will super-heat and burn away carbon blocking the honeycomb mesh of a catalytic converter, modern fuel systems have sensitive components. Plastic fuel lines, rubber seals, fuel pumps, and oxygen sensors can easily be degraded or ruined by aggressive solvents. Assess whether your converter is simply dirty from oil consumption or completely physically melted and ruined, in which case no chemical will save it.
Pro Tip: Never use lacquer thinner if your car has a modern direct-injection fuel system, as the high-pressure components are exceptionally sensitive to non-standard chemicals.
Step 2: Diagnose the Root Cause of the Clog
What you need: OBD2 fault code reader, infrared thermometer, and safety glasses.
Instructions: Plug your OBD2 scanner into the port under your steering wheel to check for codes beyond a simple P0420 or P0430. A failing catalytic converter is almost always a symptom of another problem, such as worn piston rings, leaking valve seals, a bad thermostat, or a malfunctioning oxygen sensor. If your engine is burning oil, pouring lacquer thinner into the tank is only a temporary band-aid because fresh carbon deposits will form within weeks. Furthermore, use an infrared thermometer to measure the exhaust pipe temperature before and after the converter; if the outlet pipe is significantly cooler than the inlet, you likely have a severe restriction.
Pro Tip: Always fix the underlying oil or coolant leaks before attempting any chemical cleaning procedure.
Step 3: Prepare the Fuel Mixture Ratio Safely
What you need: One gallon of standard lacquer thinner, a clean fuel funnel, and a nearly empty fuel tank (about 1/4 tank remaining).
Instructions: If you have weighed the risks and decided to proceed with the lacquer thinner method, precise mixing ratios are vital to prevent engine damage. Never pour pure lacquer thinner directly into the fuel tank without dilution. The standard folk-remedy ratio is one gallon of lacquer thinner to roughly 10 to 15 gallons of gasoline. Drive your vehicle down until the low fuel light just illuminates, indicating about two to three gallons of gas remaining. Using a long-necked fuel funnel to avoid splashing the paint or your skin, pour the exact measured amount of lacquer thinner into the gas tank.
Pro Tip: Double-check that you are using actual lacquer thinner and not mineral spirits, acetone substitutes, or paint stripper, which can have catastrophic chemical reactions in your fuel system.
Step 4: Dilute with High-Octane Gasoline
What you need: Premium unleaded gasoline (at least 91 octane) and a nearby gas station.
Instructions: Immediately after pouring the lacquer thinner into your nearly empty tank, drive directly to the nearest gas station if you are not already at one. Fill the remainder of the tank with high-octane premium gasoline. This step is crucial because it further dilutes the aggressive solvent to a safe operating concentration that your fuel pump, fuel injectors, and combustion chambers can handle without scorching or premature detonation (pinging). The high-octane fuel also helps sustain a cleaner, hotter burn which is theoretically required to super-heat the catalyst and burn off carbon soot.
Pro Tip: Fill the tank completely to ensure thorough mixing of the thinner and gasoline; do not just add a couple of gallons.
Step 5: Execute an Aggressive Highway Drive Cycle
What you need: Open highway or freeway with light traffic and 30 to 45 minutes of uninterrupted driving time.
Instructions: Once the tank is mixed and filled, you need to get the exhaust system up to maximum operating temperature to trigger the cleaning action. Drive the vehicle onto a highway and maintain a sustained speed, keeping your engine RPMs higher than normal—ideally between 2,500 and 3,500 RPMs—for at least 30 to 45 minutes. You can achieve this by downshifting one gear if you drive an automatic, or simply staying in a lower gear in a manual transmission. This elevated heat and exhaust flow velocity create the necessary environment to blow out loosened carbon ash through the tailpipe.
Pro Tip: Avoid stop-and-go city traffic during this phase, as idling causes exhaust temperatures to drop, rendering the chemical process ineffective.
Step 6: Clear Codes and Perform an Extended Monitor Relearn
What you need: OBD2 scanner and a mapped driving route that includes city and highway driving.
Instructions: After completing your high-speed highway run, pull over safely, turn off the engine, and plug in your OBD2 scanner. Clear the existing P0420 or efficiency codes from the ECU memory. Next, you must complete a standard manufacturer drive cycle to allow the computer to re-run its internal diagnostics on the oxygen sensors and the catalytic converter. Drive the car normally for the next few days under varying conditions—including cold starts, steady cruising, and deceleration—to see if the computer flags the efficiency code again.
Pro Tip: Do not expect the code to disappear instantly; the computer requires specific drive cycles to verify that the catalyst efficiency has genuinely improved.
Step 7: Evaluate the Results and Inspect the Tailpipe
What you need: Visual inspection skills and environmental awareness.
Instructions: Inspect the rear bumper and tailpipe area. During the high-speed run, you may notice a foul sulfur smell or dark smoke exiting the exhaust; this is normal as built-up carbon and soot are blasted out of the honeycombed catalyst matrix. Check whether your fuel economy has improved and whether the check engine light remains off after a week of standard commuting. If the light stays off, the chemical cleaning was temporarily successful. If the light returns within 50 to 100 miles, the catalytic converter degradation is physical and permanent.
Pro Tip: If the check engine light returns immediately, stop attempting chemical fixes immediately to avoid damaging your downstream oxygen sensors.
✅ Final Checklist
- Verified that the fuel tank mixture ratio did not exceed 1 gallon of thinner per 10-15 gallons of fuel.
- Completed a sustained 30-minute highway drive at elevated RPMs to heat the exhaust system.
- Cleared the diagnostic trouble codes using an OBD2 scanner after the test drive.
- Monitored the vehicle for at least 100 miles of mixed driving to ensure the P0420 code does not return.
- Inspected fuel lines, injectors, and oxygen sensors for any signs of chemical degradation or leaks.
Important Notes:
- Lacquer thinner is extremely flammable and toxic; always work in a well-ventilated area away from open flames, sparks, and smoking materials. Wear protective gloves and eye protection.
- Using harsh industrial solvents in a fuel tank can void manufacturer warranties and potentially damage expensive emissions components, resulting in costly repairs.
- If chemical cleaning fails, seek professional help from a certified mechanic to replace the catalytic converter or address the root cause of engine oil burning.
- Estimated time: 1 to 2 hours of active driving and diagnostics. Estimated cost: $15 to $25 for a gallon of lacquer thinner and premium fuel.
How to Diagnose a Blocked Exhaust Catalyst
Symptom Verification and Performance Drop
Before attempting any remediation, you must confirm that the catalytic converter is actually restricted rather than misdiagnosed. A blocked exhaust creates severe backpressure that chokes the engine. Common diagnostic indicators include:
- Significant loss of engine power, especially when attempting to accelerate up steep inclines or highway passing.
- A sulfur or rotten egg smell coming from the exhaust pipe during hard acceleration.
- An exhaust flow that feels weak or restricted when holding your hand near the tailpipe while the engine is revved.
- A persistent P0420 or P0430 diagnostic trouble code stored in your vehicle computer.
Advanced Testing Methods for 2026 Vehicles
Relying solely on dashboard codes can lead to misdiagnosed parts. Professional diagnostics use precise tools to verify a restriction before you touch a wrench or a chemical bottle. You can test your exhaust system using two reliable methods:
- Backpressure Testing: Remove the upstream oxygen sensor and thread a mechanical pressure gauge into the port. If backpressure exceeds 1.5 to 2 psi at idle or rises above 3 psi at 2,500 RPM, your converter is physically blocked.
- Infrared Temperature Analysis: Use an infrared thermometer to measure the exhaust pipe temperature immediately before and after the catalytic converter. A properly functioning converter should be significantly hotter at the outlet than the inlet due to ongoing chemical reactions. If the outlet temperature is cooler, the catalyst is dead or blocked.
Step-by-Step Guide to Fixing Exhaust Restrictions Safely
If you choose to use a professional chemical treatment or a fuel additive proven to reduce carbon buildup, follow a strict and safe application process. Do not improvise fuel tank ratios.
Preparation and Safety Measures
Working around automotive fuel systems and exhaust components requires strict adherence to safety protocols. Always wear heavy-duty nitrile gloves and ANSI-approved safety glasses to protect against volatile chemical splashes.
- Perform the treatment in a well-ventilated outdoor area or an indoor workspace with a commercial-grade exhaust extraction system running.
- Ensure the vehicle engine is completely cool before accessing fuel lines or exhaust components to prevent accidental thermal burns.
- Verify that your vehicle fuel level is sitting at approximately one-quarter tank before pouring any concentrated cleaning agent into the filler neck.
Execution and Drive Cycle
Proper concentration and thermal activation are necessary to burn away heavy soot deposits without damaging internal honeycomb structures.
- Pour the manufacturer-approved catalytic cleaner directly into the fuel tank, minimizing any spillage onto painted body panels.
- Fill the gas tank immediately afterward to ensure thorough chemical mixing and prevent overly concentrated solvent pooling.
- Drive the vehicle on a highway for 20 to 30 minutes at a sustained engine speed above 3,000 RPM to generate the necessary exhaust temperatures.
What If It Still Doesn’t Work?
If chemical additives or solvent flushes fail to clear the blockage, the internal ceramic substrate is likely physically degraded, melted, or chemically poisoned. At this stage in 2026, DIY shortcuts will no longer work, and mechanical intervention is required.
Fallback Steps for Persistent Exhaust Failures
- Use an OBD2 diagnostic scanner to verify that catalyst efficiency codes like P0420 or P0430 remain active after completing a proper highway drive cycle.
- Inspect the exhaust system with an endoscope camera inserted through the oxygen sensor port to visually confirm substrate melting or structural collapse.
- Consult a certified automotive technician to test backpressure levels using a specialized pressure gauge threaded into the exhaust stream.
- Prepare for professional replacement. According to current 2026 automotive repair data, a standard catalytic converter replacement typically ranges from $1,200 to $2,500 total, varying significantly by vehicle make, model, and emissions tier.
Conclusion
Attempting to clear a blocked catalytic converter with harsh unapproved solvents introduces severe safety risks and engine damage. According to verified research and expert sources from leading automotive engineers, mechanical failure of the catalyst substrate requires proper replacement rather than makeshift chemical shortcuts. Your best next step is to run a professional diagnostics test to confirm the root cause of your P0420 code before investing in costly repairs.
❓ Frequently Asked Questions
Where did the myth of using lacquer thinner to clean catalytic converters come from?
The idea stems from the fact that lacquer thinner is a powerful petroleum-based solvent capable of dissolving heavy resins and paint. Proponents incorrectly assumed it would burn through exhaust soot and carbon deposits in the same manner, ignoring the extreme sensitivity of modern emissions components.
What specific damage can lacquer thinner cause to my exhaust system?
The harsh chemicals bypass the combustion chamber and reach the downstream oxygen sensors and catalytic converter at high temperatures. This chemical exposure can strip the precious metal coating off the catalyst and permanently poison the oxygen sensors, triggering persistent check engine lights.
Are there any approved DIY methods to clear a blocked catalytic converter?
True physical blockages or melted substrates cannot be fixed with DIY chemical flushes. The only safe chemical method involves running certified, high-grade fuel system cleaners designed specifically for emissions maintenance, though these only work on minor surface soot.
How much does a professional catalytic converter replacement cost?
Replacement costs vary wildly depending on the vehicle make and model, typically ranging from $1,000 to $2,500 including labor. Because of these high costs, desperate drivers often turn to dangerous myths like lacquer thinner as a quick fix.
Can a bad oxygen sensor mimic a clogged catalytic converter?
Yes, a failing or sluggish oxygen sensor can send incorrect fuel-trim data to the engine computer, resulting in symptoms that mirror a blocked exhaust. Proper diagnostic scanning with a live-data OBD2 reader is essential before condemning the converter.
What diagnostic steps should I take before attempting any exhaust repairs?
Begin by scanning for diagnostic trouble codes using an OBD2 reader to check for P0420 or P0430 alerts. Next, use an infrared thermometer to measure exhaust temperatures before and after the converter, or check backpressure with a pressure gauge.
One Comment