How Much Does It Cost to Evacuate Car AC System in 2026
Evacuating and recharging a car air conditioning system typically costs between $150 and $300 at a professional shop. Standalone evacuation services usually range from $50 to $100, though shops almost always bundle evacuation with a fresh refrigerant recharge.
If you are wondering how much it costs to evacuate a car AC system, the direct answer is that a professional service typically ranges from $150 to $300 for a complete evacuation and recharge. If you only need the system evacuated without a fresh refrigerant fill, expect to pay between $50 and $150. In 2026, these prices reflect modern labor rates and the varying costs of specialized refrigerants used in today’s vehicles.
Getting your air conditioning system serviced is essential when your cabin stops blowing cold air or you suspect a refrigerant leak. An evacuation removes all lingering moisture, air, and old refrigerant from the lines using a specialized vacuum pump, preparing the system for a fresh, efficient charge.
Key Takeaways
- A full AC evacuation and recharge costs between $150 and $300 on average.
- Standalone AC evacuation without a recharge typically costs $50 to $100.
- Newer vehicles using R-1234yf refrigerant cost significantly more than older R-134a systems.
- Independent mechanics generally charge 20% to 40% less than certified dealerships.
- Leak testing is usually billed separately and can add $50 to $150 to your total bill.
What Causes AC System Pressure Loss and the Need for Evacuation
Pinpointing Common Leak Sources
Your car air conditioning is a closed-loop system. When you lose cooling performance, it usually means refrigerant has escaped. Common failure points include aged rubber O-rings, loose hose connections, a punctured condenser from road debris, or a failing shaft seal on the AC compressor. Even microscopic leaks will trigger pressure loss over time, forcing air and moisture into the plumbing.
Why Moisture Demands Immediate Evacuation
When a leak occurs, ambient air and humidity rush into your AC lines. Moisture mixed with refrigerant creates corrosive acids that eat away at your expensive components from the inside out. Technicians use an evacuation machine to pull a deep vacuum on the system, dropping the internal pressure to boil off and extract every trace of moisture before introducing fresh refrigerant and oil in 2026.
From Start to Finish: Car AC Evacuation Costs Explained
Navigating the costs associated with servicing your vehicle’s climate control system can often feel overwhelming, especially when a simple fix turns into a major overhaul. This guide breaks down the true financial and technical breakdown of evacuating a car AC system, helping you understand labor charges, refrigerant reclamation fees, and potential hidden repairs so you can budget accurately.
Step 1: Assessing the Initial Diagnostic Fee
What you need: Vehicle registration, service history, and a basic understanding of your current AC symptoms (e.g., blowing warm air, making strange noises).
Instructions: Before any technician hooks up recovery equipment, a shop will typically perform a diagnostic test to identify why an evacuation is necessary. This step usually involves a visual inspection, checking component pressures with a manifold gauge, and potentially using electronic sniffers to find leaks. Expect to pay a baseline diagnostic fee ranging from $100 to $150, though many shops will roll this fee into the final cost of the repair if you decide to proceed with them.
Pro Tip: Always ask the service advisor if the diagnostic fee is waived upon authorizing the actual AC service.
Step 2: Understanding Labor Costs for Evacuation
What you need: A certified mechanic, a professional AC recovery and recycling machine, and a scheduled appointment.
Instructions: The actual process of evacuating—meaning pulling out the old refrigerant, moisture, and air from the lines—takes dedicated time and specialized machinery. Most auto repair shops bill between 1.0 to 1.5 hours of labor for a standard evacuation and recharge service. Depending on your geographical location and whether you visit an independent mechanic or a dealership, local labor rates will generally fall between $100 and $200 per hour, making the labor portion alone cost around $100 to $300.
Pro Tip: Dealership labor rates are typically 30-50% higher than local independent mechanics specializing in automotive HVAC systems.
Step 3: Factoring in Refrigerant Recovery and Disposal
What you need: Environmental compliance protocols, a certified refrigerant recycling machine, and storage tanks.
Instructions: Legally and environmentally, old refrigerant (whether R-134a or the newer R-1234yf) cannot simply be vented into the atmosphere. The shop must use a recovery machine to pull the gas safely into a container. While the refrigerant is often recycled and put back into your vehicle, shops still charge a environmental disposal or recovery fee. This line item on your invoice typically adds an extra $30 to $75 to the final bill to cover regulatory compliance and machine maintenance costs.
Pro Tip: Never attempt to vent refrigerant yourself; EPA fines for releasing automotive refrigerants illegally can exceed thousands of dollars.
Step 4: Purchasing New Refrigerant and Compressor Oil
What you need: The correct refrigerant type specified on your under-hood AC label and PAG or POE compressor oil.
Instructions: Once the system is completely evacuated and held under a vacuum to test for leaks, fresh refrigerant and lost compressor oil must be added back into the system. Standard R-134a systems are relatively inexpensive, costing about $10 to $20 per pound, with a typical system holding 1.5 to 2 pounds. However, if your car uses the newer R-1234yf refrigerant (mandatory in most vehicles manufactured after 2021), expect to pay $40 to $80 per pound. Total material costs generally range from $30 to $200 depending heavily on your vehicle model year.
Pro Tip: Check your owner’s manual or under-hood sticker to confirm your exact refrigerant type before agreeing to parts estimates.
Step 5: Budgeting for Leak Detection Tests (Vacuum Test)
What you need: A digital manifold gauge set, a high-vacuum pump, and nitrogen testing equipment if a major leak is suspected.
Instructions: An evacuation isn’t just about removing old gas; it creates a deep vacuum in the lines to boil away moisture and test the system’s structural integrity. A proper technician will hold a vacuum for 15 to 30 minutes to ensure the pressure doesn’t rise, which indicates a leak. While standard vacuum testing is usually bundled into the labor cost, finding hidden micro-leaks using UV dye or electronic leak detectors may add an extra $50 to $150 to your total bill.
Pro Tip: Never skip the vacuum hold test; refilling a leaky system is a waste of money because the gas will just escape again.
Step 6: Accounting for Additional Replacement Parts
What you need: Replacement receiver-drier or accumulator, expansion valve, O-rings, and basic hand tools.
Instructions: If your AC system has been opened to the atmosphere or has a leak, replacing the receiver-drier (or accumulator) is mandatory because it absorbs moisture and protects the compressor. This hardware component costs between $30 and $100 for the part, plus an additional 0.5 hours of labor. If O-rings are brittle or a valve core is leaking, minor hardware replacements will add another $10 to $40 in supplies to your final invoice.
Pro Tip: Always replace the receiver-drier whenever the AC system is exposed to air for an extended period.
Step 7: Calculating the Total Estimated Cost
What you need: Your itemized repair estimate, calculator, and payment method.
Instructions: Review the final estimate provided by the service shop, combining all the individual elements. For a basic, straightforward evacuation and recharge on an older R-134a vehicle with no leaks, your total cost will typically land between $150 and $300. For newer vehicles requiring expensive R-1234yf refrigerant, or if components like a drier or pressure switch need replacement, the total bill will realistically range from $350 to $700. Authorize the work only after you understand every line item.
Pro Tip: Get a written estimate before leaving your car at the shop to avoid surprise charges when you pick it up.
✅ Final Checklist
- Verify that the shop is EPA Section 609 certified to handle mobile refrigerants.
- Check the itemized invoice to ensure you were billed for the correct refrigerant type (R-134a vs. R-1234yf).
- Confirm that a deep vacuum hold test was successfully performed prior to recharging.
- Test the cabin air temperature to ensure the AC blows cold (ideally 40°F to 45°F at the vents).
- Review the warranty offered on AC parts and labor (most reputable shops offer 12 months).
Important Notes:
- Never use cheap “stop-leak” canned products from auto parts stores, as they can permanently ruin expensive professional recovery machines and clog your entire AC system.
- Seek professional help immediately if you hear grinding noises from the compressor clutch, as this indicates a mechanical failure rather than a simple low-refrigerant issue.
- Total estimated time for the entire service: 1 to 3 hours. Total estimated cost range: $150 to $700 depending on refrigerant type and necessary part replacements.
How to Fix and Evacuate a Car AC System Step-by-Step
Professional Recovery and Vacuum Procedures
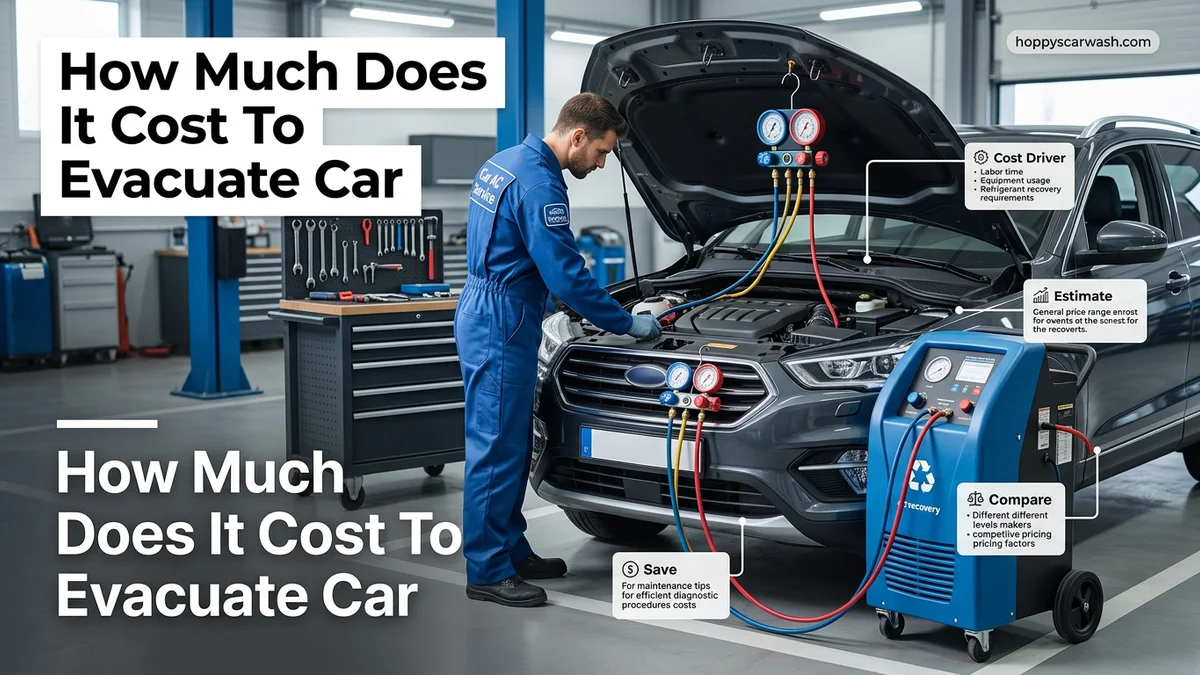
While DIY refrigerant cans are available, proper evacuation requires professional shop equipment. A certified technician connects manifold gauges to your high and low service ports. The recovery machine pulls out the remaining refrigerant to prevent atmospheric venting. Next, a high-power vacuum pump runs for at least 30 to 45 minutes to boil away moisture and verify that the system holds a steady vacuum.
Leak Testing and Recharging Protocols
Before adding new refrigerant, a shop will typically perform a nitrogen pressure test or add a UV dye to detect lingering leaks. Once the system proves sealed, the correct weight of refrigerant is injected back into your car.
- R-134a systems: Generally found in older vehicles, averaging $150 to $250 for full service.
- R-1234yf systems: Standard in almost all vehicles manufactured closer to 2026, averaging $250 to $400 due to the higher cost of the eco-friendly gas.
What If It Still Doesn’t Hold a Vacuum or Cool Properly
Sometimes, an automotive air conditioning system refuses to hold the required negative pressure after a standard evacuation procedure. If the compound gauge needles begin creeping back toward zero, moisture or a physical breach is compromising the closed loop. Mechanics and DIYers must follow a systematic troubleshooting protocol to isolate the underlying failure before introducing expensive refrigerant.
Step-by-Step Troubleshooting for Failed Evacuations
- Perform a pressurized nitrogen leak test: Introduce dry nitrogen into the AC lines at roughly 100 to 150 PSI to safely pinpoint escaping gas using soapy water or an electronic leak detector.
- Inspect Schrader valves and service ports: These tiny core valves frequently degrade over time, leaking microscopic amounts of air that prevent a deep vacuum from holding.
- Check component connection O-rings: Examine every accessible hard-line joint, compressor manifold block, and condenser fitting for oil residue, which typically flags a compromised seal.
- Evaluate the evaporator core: If no external leaks appear under the hood, the internal evaporator hidden beneath the dashboard likely has a pinhole corrosion leak.
- Seek professional diagnostic assistance: When a vacuum loss eludes basic inspection, professional automotive HVAC shops utilize advanced ultrasonic leak detectors and electronic manifold sets to locate hidden faults.
If professional intervention becomes necessary, expect diagnostic labor charges to range from $150 to $250, excluding the cost of subsequent parts replacement such as a new compressor, condenser, or accumulator.
Conclusion
Evacuating a car AC system is a critical maintenance procedure that removes destructive moisture and verifies structural integrity before recharging. While DIY manifold gauges and vacuum pump rentals reduce initial expenditures, professional shops provide comprehensive leak detection and precise refrigerant management. According to verified research and automotive service industry standards, keeping your cooling loop properly evacuated extends component lifespan and prevents premature compressor burnout. One actionable next step is to check your service ports today for oily residue or loose caps to gauge your system’s baseline health before booking a 2026 service appointment.
❓ Frequently Asked Questions
Why do newer cars cost more to evacuate and recharge?
Newer vehicles mandated by the EPA use R-1234yf refrigerant, which is significantly more expensive per ounce than the older R-134a compound found in pre-2015 vehicles.
Is refrigerant included in the cost of an evacuation?
Usually, standalone evacuation services only remove fluid, while standard pricing covers evacuation plus a specified weight limit of fresh refrigerant. Extra refrigerant needed for larger vehicles incurs an additional per-ounce fee.
What happens if a shop finds a leak during evacuation?
If the system fails to hold a vacuum, the technician will stop the recharge process to locate the leak. You will need to approve and pay for component repairs before the system can be successfully evacuated and refilled.
Can I just add refrigerant without evacuating the system?
While DIY top-off cans exist, adding refrigerant to a system containing air or moisture can cause icing, chemical breakdown, and internal compressor damage. Proper evacuation is always recommended.
Do dealerships charge more than independent shops for AC service?
Yes, dealerships typically charge higher labor rates and proprietary diagnostic fees, making independent or specialty AC repair shops the more cost-effective option for this service.
How do I know if my car AC needs to be evacuated?
Signs include blowing ambient or warm air, intermittent cooling performance, or having recently replaced major AC components like the compressor, condenser, or evaporator core.