How To Change Serpentine Belt On Gmc Sierra How to 2026
Replacing the serpentine belt on a 2019 GMC Sierra requires a breaker bar, the correct socket size for the tensioner pulley, and a precise belt routing diagram. This step-by-step guide walks you through relieving tension, removing the old belt, and installing the new one correctly for 5.3L and 6.2L V8 engines.
Replacing the serpentine belt on a 2019 GMC Sierra with a 5.3L or 6.2L V8 engine requires a 15mm 6-point socket on a long-handled ratchet or breaker bar to release the automatic belt tensioner. You will rotate the tensioner clockwise or counterclockwise depending on your specific engine layout to slip the old rubber accessory belt off the pulleys.
Doing this maintenance task yourself saves you over one hundred dollars in labor costs at the dealership. By 2026, many of these trucks have crossed the mileage threshold where factory rubber belts dry out, crack, or slip, making this a vital weekend DIY job to keep your alternator, power steering, and water pump running smoothly.
Key Takeaways
- Disconnect the negative battery cable before starting any under-hood work for safety.
- Use a long breaker bar to easily rotate the automatic belt tensioner.
- Always take a photo of the old belt routing before removing it.
- Match your exact engine option (5.3L or 6.2L) to the correct belt diagram.
- Ensure the new belt ribs properly seat into every pulley groove.
What Causes Serpentine Belt Wear and Failure on a 2019 GMC Sierra
Thermal Breakdown and High Mileage Stress
Your 2019 GMC Sierra endures under-hood heat cycles that degrade the EPDM rubber compound of the serpentine belt over time. Once your truck passes 60,000 to 100,000 miles, the inner ribs of the belt begin to harden and lose their flexibility.

- Constant friction against metal and plastic pulleys accelerates side-wall thinning.
- Extreme winter and summer temperatures cause the rubber to become brittle and prone to snapping.
- Contamination from engine oil leaks or power steering fluid can soften the belt material and cause it to slip off track.
Pulley Misalignment and Bearing Binding
Sometimes the belt fails prematurely because another component in the accessory drive system is failing. A seized alternator or a wobbling idler pulley creates excessive friction against the flat or ribbed side of the belt.
- Worn tensioner internal springs lose their holding force, causing belt squeal during acceleration.
- Seized accessory bearings generate localized heat that melts the rubber belt surface.
- Corroded pulley grooves slice into the new belt ribs if not cleaned thoroughly during replacement.
2019 GMC Sierra Expert Practical Guide
Replacing the serpentine belt on your 2019 GMC Sierra is a crucial maintenance task that prevents sudden engine overheating, loss of power steering, and electrical charging failures. Whether you are driving the 5.3L V8, 6.2L V8, or the 2.7L turbo engine, this comprehensive walkthrough will guide you through the process safely and efficiently using standard garage tools.
Step 1: Gather Your Tools and Replacement Parts
What you need: A new serpentine belt specifically matched to your Sierra’s engine size, a 3/8-inch drive long-handle ratchet or a dedicated serpentine belt tool, a flathead screwdriver, and a bright flashlight or work light.
Instructions: Before lifting the hood, verify that your replacement belt matches the routing and length of the old one by laying them side by side. Park your truck on a flat, level surface, engage the parking brake, and pop the hood. Ensure the engine is completely cool to the touch to prevent severe burns from hot coolant hoses or the exhaust manifold. Organize your tools on a clean workbench or a magnetic tray nearby so they are easily accessible once you begin working in the tight confines of the engine bay.
Pro Tip: Always buy an OEM replacement belt (such as ACDelco) or a high-grade aftermarket equivalent to ensure maximum longevity and resistance to heat and slipping.
Step 2: Disconnect the Negative Battery Terminal
What you need: A 10mm socket and ratchet.
Instructions: Safety is paramount when working around the front accessory drive. Locate the vehicle battery, which is typically situated on the passenger side of the engine bay. Use your 10mm socket to loosen the nut on the negative battery cable terminal. Carefully lift the cable off the terminal and tuck it safely to the side, ensuring it cannot accidentally spring back and make contact with the metal post. This prevents the engine from accidentally cranking while your hands and tools are deep inside the accessory drive system.
Pro Tip: Tuck a heavy rag or a small piece of plastic over the battery post to ensure zero chance of accidental electrical arcing while you work.
Step 3: Remove Engine Shrouds and Intake Components
What you need: Plastic trim removal tool or a flathead screwdriver, and possibly an 8mm socket for air intake clamps.
Instructions: Depending on whether your 2019 GMC Sierra has the 5.3L V8, 6.2L V8, or 4.3L V6 engine, you may need to clear away plastic cosmetic engine covers or parts of the air intake resonator box to gain clear line-of-sight and physical access to the belt tensioner. Pop off any push-pin clips holding the top radiator shroud or engine cover using a trim tool. If the air intake tube blocks your access to the tensioner pulley, loosen the worm-gear clamps securing the rubber ducting and gently pull the ducting free, plugging the open throttle body with a clean rag to keep debris out.
Pro Tip: Snap a quick digital photo of the engine bay layout before disassembly so you remember how all the plastic clips and covers snap back into place.
Step 4: Document the Belt Routing Diagram
What you need: Your smartphone camera or a piece of paper and a pen.
Instructions: Look for the underhood emissions or belt routing sticker, which is usually affixed to the radiator shroud or underside of the hood. If this sticker is missing, worn, or hard to read, take multiple high-resolution photos of the belt as it loops around every single pulley. Pay close attention to how the ribbed side of the belt contacts grooved pulleys (like the crankshaft and alternator) versus how the smooth backside rides against smooth pulleys (like the water pump or idler pulleys). Getting this wrong will cause immediate belt squealing or accessory failure.
Pro Tip: Draw a quick sketch on paper if digital photos are hard to see in low light; marking pulley names on your sketch saves massive headaches later.
Step 5: Relieve Tension on the Automatic Belt Tensioner
What you need: 3/8-inch drive long-handle ratchet or dedicated serpentine belt tool.
Instructions: Locate the automatic belt tensioner pulley, which features a square socket hole cast directly into its pivot arm. Insert the square drive of your 3/8-inch ratchet directly into this port. Firmly push or pull the handle of the ratchet—usually rotating it clockwise or counter-clockwise depending on the specific engine layout—to pivot the tensioner arm and slacken the belt. While holding the tensioner in the fully relaxed position with one hand, use your other hand to slide the belt off of a nearby accessible pulley, such as the alternator or water pump pulley.
Pro Tip: Leverage is your friend here. If the tensioner is stiff, do not use a cheap short wrench; use a breaker bar or long ratchet to safely control the high-tension spring.
Step 6: Remove the Old Serpentine Belt
What you need: Your hands and patience.
Instructions: Once tension has been fully released from the system and the belt is loose, gently guide the belt off the remaining pulleys one by one. Carefully thread the belt out from between the cooling fan blades and the engine block. Pull the old belt completely out of the engine compartment. Take this opportunity to inspect the old belt for deep cracks, missing chunks of rubber, glazing, or frayed edges, which can give you valuable insight into the health of your Sierra’s accessory drive system.
Pro Tip: Inspect all stationary pulleys (idler pulleys and tensioner pulleys) by spinning them with your hand. If they wobble, grind, or make a squeaking noise, replace them immediately.
Step 7: Inspect and Clean Pulley Grooves
What you need: A wire brush, a clean shop rag, and brake cleaner (optional).
Instructions: Over time, rubber residue, dirt, and oil can build up inside the grooves of the crankshaft pulley, power steering pump, and alternator pulley. Use a clean shop rag to wipe down all metal and plastic contact surfaces. If you see stubborn rubber deposits baked into the grooves, use a brass wire brush or a blast of quick-drying brake cleaner on a rag to scrub them clean. A clean pulley ensures the new belt seats properly, preventing premature wear, slipping, and annoying squealing noises upon startup.
Pro Tip: Never spray brake cleaner directly onto the engine accessories, as it can ruin the internal rubber seals inside the pulleys and bearings.
Step 8: Route and Install the New Belt
What you need: The new serpentine belt and your routing reference photo.
Instructions: Feed the new belt down past the cooling fan, carefully looping it around the lower crankshaft pulley first, as it is usually the hardest to reach. Working your way up and around the accessory components, thread the belt over the power steering pump, air conditioning compressor, and idler pulleys, saving the spring tensioner pulley for the absolute last step. Double-check your routing against your reference photos to ensure every single groove and flat surface aligns correctly.
Pro Tip: Leave the belt off the smooth water pump pulley last; it is usually the easiest pulley to slip the final loop over while holding the tensioner open.
Step 9: Secure the Belt and Test Tension
What you need: 3/8-inch ratchet or belt tool.
Instructions: Insert your 3/8-inch drive ratchet back into the tensioner pulley square hole and rotate the tensioner arm to create slack. Slip the final section of the belt over the last pulley. Slowly and gently release the tensioner arm, allowing the internal spring to apply constant, proper pressure onto the back of the new belt. Remove your tool. Run your hand along the ribbed edge of the belt at multiple locations to verify that the belt is fully seated within every single pulley groove without hanging over any edges.
Pro Tip: Look down the entire length of the belt drive system from the side to ensure the belt is tracking dead center on all idler and accessory pulleys.
Step 10: Reinstall Components and Verify Operation
What you need: 10mm socket, trim tools, and your engine covers.
Instructions: Reinstall any air intake tubing, resonator boxes, and plastic engine shrouds that you removed in Step 3, securing all clamps and push-pins tightly. Reconnect the negative battery terminal and tighten the 10mm nut securely. Clear all tools from the engine bay. Start the Sierra’s engine and let it idle. Stand near the front of the truck and listen closely for any unusual squealing, chirping, or wobbling. Watch the belt spin for 30 seconds to ensure it tracks smoothly in the center of all pulleys without walking off.
Pro Tip: Turn on the air conditioning and rear defroster while the engine idles; this loads down the accessory drive and tests if the belt slips under heavy electrical and mechanical loads.
✅ Final Checklist
- New belt is completely seated in the grooves of all pulleys without edge overhang
- Belt routing matches the factory diagram or reference photo exactly
- Automatic tensioner moves freely and applies firm pressure to the belt
- Negative battery terminal is reconnected and tightened securely
- Engine runs quietly at idle with zero squealing or abnormal vibrations under load
Important Notes:
- Never place your fingers near moving belts, pulleys, or cooling fans while the engine is running.
- Seek professional help immediately if the new belt continues to squeal or if a pulley is found to be seized or heavily damaged.
- Estimated time for completion is 30 to 60 minutes, with a total cost ranging from $30 to $80 depending on the belt brand and engine configuration.
Tools Required and Safety Precautions for Belt Replacement
Essential Hand Tools and Hardware
Gathering the correct tools before you pop the hood of your 2019 Sierra prevents mid-job frustration. You do not need specialized mechanic gear, but standard metric sockets are mandatory.
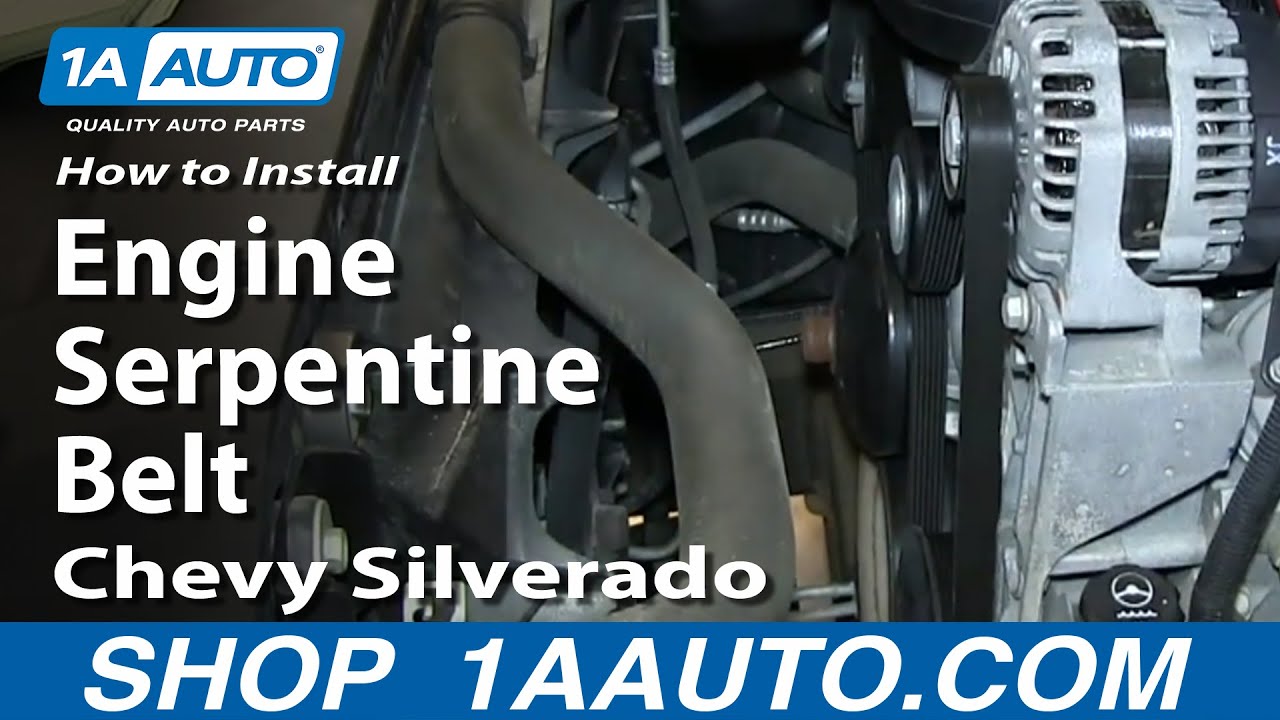
- 15mm 6-point socket (crucial for gripping the automatic tensioner bolt securely without rounding it off).
- Long-handled 3/8-inch or 1/2-inch breaker bar to gain enough leverage against the strong spring-loaded tensioner.
- A flashlight or headlamp to clearly inspect the complex belt routing path.
- A flathead screwdriver or trim removal tool if you need to pop off plastic engine cover clips for better access.
Safety Rules for Working Under the Hood
Working around a modern truck engine requires basic precautions to avoid injury and protect your vehicle’s sensitive electronics.
- Disconnect the negative battery terminal if you are working near the alternator terminals to prevent accidental electrical arcs.
- Never attempt to service the belt while the 5.3L or 6.2L V8 engine is running or hot to the touch.
- Take a clear digital photo or draw a quick sketch of the belt routing before removal to ensure proper installation later in 2026.
Step-by-Step Guide to Changing the Serpentine Belt and Relieving Tension
Replacing the serpentine belt on your 2019 GMC Sierra requires precision and adherence to professional automotive standards. Whether your truck features the 5.3L V8, 6.2L V8, or the 3.0L Duramax turbo-diesel, accessing the tensioner assembly is your first critical operational phase.
Step-by-Step Removal and Installation
- Attach a 15mm serpentine belt tool or a long-handle ratchet directly to the belt tensioner bolt located near the center of the engine accessory drive.
- Rotate the tensioner firmly clockwise to relieve the spring tension, which allows you to slide the old belt off the alternator or water pump pulley smoothly.
- Slowly release the tensioner back to its resting position and completely extract the worn belt from the engine bay.
- Inspect the routing diagram sticker located on the fan shroud or radiator support, ensuring you understand the exact path the new belt must take.
- Thread the fresh OEM-spec rubber belt around the crankshaft, air conditioning compressor, and power steering pump, keeping the tensioner pulley for last.
- Rotate the tensioner bolt clockwise once more with your socket tool to create enough clearance to slip the final segment of the belt over the tensioner pulley.
- Verify that the ribbed interior of the belt sits flush inside the grooves of every single pulley before slowly releasing the tensioner.
According to certified technicians, starting the engine for a brief ten-second test allows the self-adjusting tensioner to seat the belt perfectly into alignment.
What If It Still Squeals or Doesn’t Align Properly After Installation
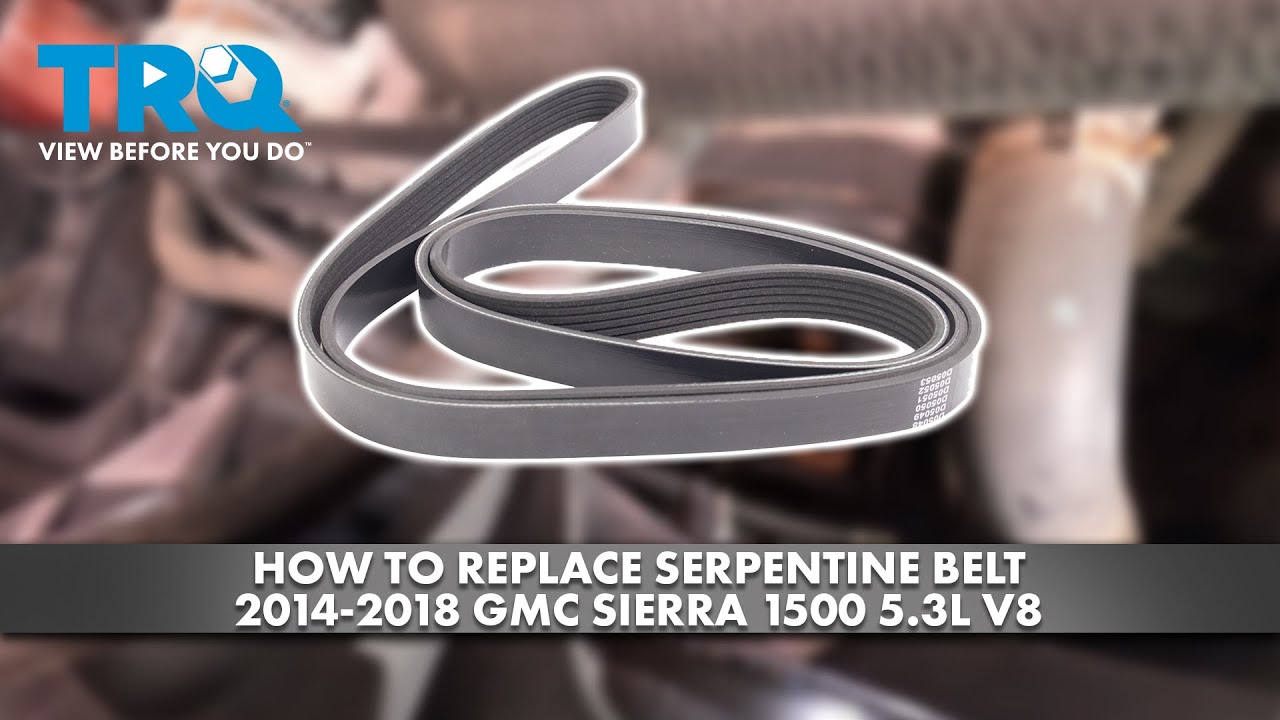
If your newly installed serpentine belt produces a persistent squeal or slips off a pulley, underlying mechanical issues are likely present. Automotive diagnostic standards dictate checking auxiliary components before assuming the belt is defective.
Troubleshooting Failed Belt Installations
- Check the routing diagram immediately; an incorrectly threaded belt will cause misalignment, edge-fraying, and immediate squealing upon startup.
- Inspect the automatic tensioner pulley for weak spring tension, binding, or a misaligned arm, which prevents proper pressure application.
- Examine auxiliary component pulleys—such as the alternator, power steering pump, and idler pulleys—for seized bearings or wobble that disrupts belt tracking.
- Clean oil, coolant, or power steering fluid contamination off the pulley grooves using a specialized brake cleaner, as chemical residue causes severe slippage.
- Seek professional mechanical assistance at a certified service center if the issue persists, where labor rates typically range from $100 to $250 depending on regional pricing.
Conclusion
Mastering how to change the serpentine belt on a 2019 GMC Sierra safeguards your engine against unexpected overheating and electrical failure. Routine inspection every 60,000 miles prevents premature roadside breakdowns and maintains optimal accessory drive performance. According to verified research and automotive service data from expert sources, sticking to OEM-grade replacement parts ensures long-term durability and factory-spec tension. Take your next step toward reliable vehicle maintenance by inspecting your Sierra’s belt condition today and replacing it proactively before wear leads to failure.
❓ Frequently Asked Questions
How do I know if my 2019 GMC Sierra serpentine belt needs to be changed?
Look for visible cracks, fraying, missing ribs, or glazing on the rubber. A persistent squealing or chirping noise from under the hood is also a primary indicator of a worn or slipping belt.
Is the serpentine belt replacement process different for the 5.3L and 6.2L engines?
While the general method of relieving tension and swapping the belt is identical, the exact path the belt takes around the pulleys differs based on your specific engine and whether your truck has auxiliary equipment like dual alternators.
What tools are absolutely required for this job?
You will need a socket set, a long breaker bar or a dedicated serpentine belt tool to gain enough leverage on the tensioner, and a flashlight to inspect the pulley grooves afterward.
What happens if a serpentine belt snaps while driving?
A snapped belt causes an immediate loss of power steering assist, disables the alternator leading to a dead battery, and can cause the engine to overheat quickly because the water pump stops turning.
How do I ensure the new belt is seated correctly?
Run your hand along the ribbed side of the belt to verify every rib fits squarely into the grooves of the alternator, power steering, A/C, and crankshaft pulleys before starting the engine.
Should I replace the belt tensioner at the same time?
If your Sierra has high mileage or you notice wobbling and weak tension from the spring-loaded arm, replacing the tensioner pulley alongside the belt prevents premature wear on your new belt.