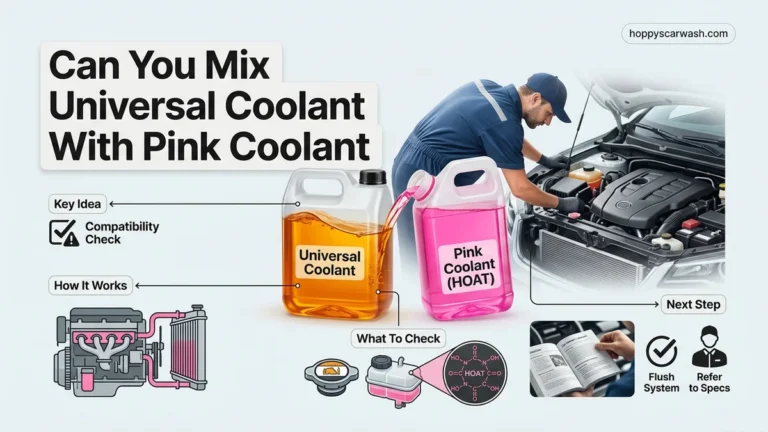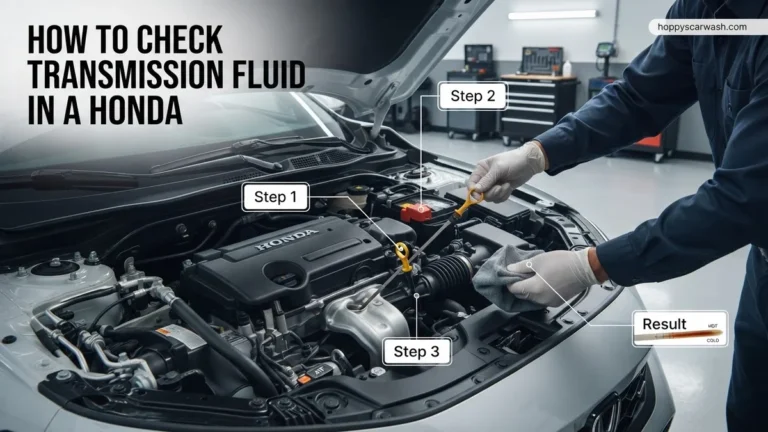
Can I Check My Transmission Fluid After Driving 2026 Guide
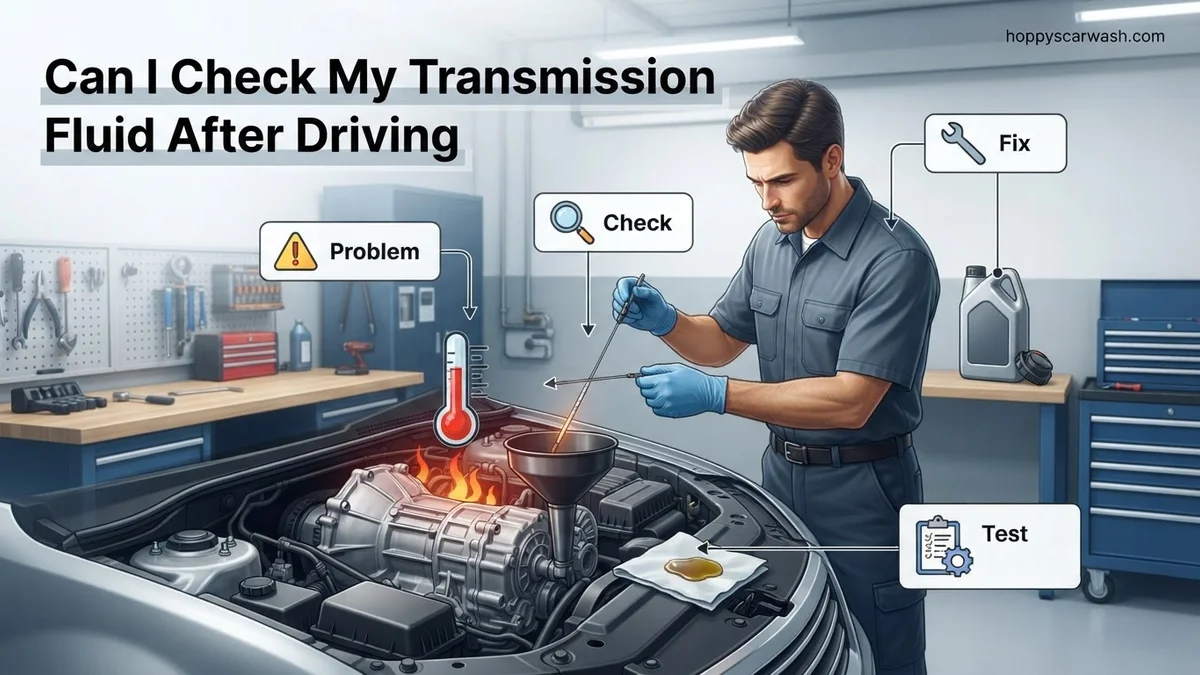
Yes, you generally should check your transmission fluid while the engine is warm and running, as fluid expands with temperature. However, checking it incorrectly can lead to false readings and potential transmission damage. Always consult your vehicle manual for specific manufacturer requirements.
Yes, you can check your transmission fluid after driving, and in fact, most vehicle manufacturers actually require the engine and transmission to be warm for an accurate reading. Unlike engine oil, which usually settles into the oil pan when the car sits overnight, automatic transmission fluid (ATF) behaves quite differently under operating temperatures.
Checking your fluid levels correctly in 2026 prevents premature transmission wear, slippage, and catastrophic mechanical failure. If you try to measure fluid when the system is completely cold, you risk misdiagnosing a low fluid level and overfilling your transmission, which creates excessive internal pressure and foam.
Key Takeaways
- Most vehicle manufacturers require checking transmission fluid while the engine is warm and running.
- Automatic transmission fluid expands as it heats up, making hot readings more accurate.
- Always park on a completely level surface and engage the parking brake before checking.
- Shift through all gears (Park to Low and back) before taking the final dipstick reading.
- Healthy transmission fluid should be bright red or pink with a sweet or distinct petroleum scent.
Why Most Vehicles Require Checking Transmission Fluid Warm
Fluid dynamics play a massive role in how automatic transmissions operate. As you drive, mechanical friction and hydraulic pressure heat up the transmission fluid, causing it to expand significantly within the system.
Thermal Expansion of Transmission Fluid
Transmission fluid is engineered to expand as it absorbs heat during normal driving conditions. If you pull a dipstick on a completely cold vehicle, the fluid level might look normal or even high. However, once the fluid reaches its normal operating temperature of roughly 170°F to 200°F (77°C to 93°C), that volume increases. Skipping the warm-up phase means you are measuring a condensed fluid state, which leads to incorrect readings.
Manufacturer Specifications and Dipstick Markings
Most modern dipsticks feature two distinct sets of indicator lines:
- Cold Markings: Designed strictly for a quick baseline check or after adding fluid, but not for final diagnostic accuracy.
- Hot Markings: The gold standard for verifying correct fluid levels after the vehicle has been driven for at least 10 to 15 miles.
Relying solely on cold readings often tricks drivers into underfilling their transmissions, starving the hydraulic pumps of vital lubrication.
Master Checking Your Transmission Fluid in 6 Simple Steps
Checking your transmission fluid is a crucial part of routine vehicle maintenance that keeps your gears shifting smoothly and prevents costly transmission damage. Many drivers wonder whether it is safe or accurate to check this fluid after the engine has been running. This practical walkthrough will clear up the confusion, explaining how to properly check your fluid level when the engine is warm, what tools you need, and how to interpret the results safely and effectively.
Step 1: Understand Operating Temperature Requirements
What you need: Your vehicle, a flat parking surface, and the owner’s manual for manufacturer-specific instructions.
Instructions: Unlike engine oil, which is frequently checked when the engine is completely cold, most automatic transmissions actually require the fluid to be checked when the engine is warm and running. Driving your car for about 10 to 15 minutes brings the transmission fluid up to its normal operating temperature (typically around 170°F to 180°F), causing the fluid to expand to its true operating level. Park your vehicle on a perfectly level surface, engage the parking brake firmly, and leave the engine running in “Park” or “Neutral” as specified by your vehicle’s manual.
Pro Tip: Always consult your owner’s manual first. While most automatic transmissions require a warm engine, some specific makes and models (like certain older Honda and Nissan vehicles) explicitly instruct you to check the fluid with the engine turned off.
Step 2: Locate the Transmission Dipstick
What you need: A flashlight, safety glasses, and clean shop rags or paper towels.
Instructions: Pop the hood of your vehicle and secure it with the prop rod. Locate the transmission fluid dipstick, which is often situated near the back of the engine bay where the transmission meets the engine block. The dipstick handle is typically color-coded bright yellow, red, or orange to distinguish it from the engine oil dipstick. If your car is front-wheel drive, look for a dipstick mounted transaxle on the passenger or driver side lower area. Pull the dipstick out slightly to ensure you have the right one before proceeding.
Pro Tip: Do not confuse the transmission dipstick with the engine oil dipstick. Engine oil dipsticks are usually centered and feature a yellow or black ring, whereas transmission dipsticks are frequently located lower down or closer to the firewall.
Step 3: Perform the Initial Wipe and Clean
What you need: Lint-free shop rags or a clean, white paper towel.
Instructions: Carefully pull the transmission dipstick all the way out of its filler tube. Take your clean shop rag or paper towel and wipe the metal blade from the handle down to the tip, removing any accumulated road grime, dust, or residual fluid splashes. This initial cleaning is essential because engine vibration can cause fluid to splash up inside the tube, giving you a falsely high reading if you don’t clear the stick first. Drop the freshly wiped dipstick completely back down into the filler tube, ensuring it seats firmly at the bottom.
Pro Tip: Never use standard facial tissues or fluffy paper towels. The lint they leave behind can contaminate your transmission fluid and cause valve body blockages in the transmission.
Step 4: Take the Accurate Fluid Reading
What you need: A flashlight and a clean paper towel or rag.
Instructions: Pull the dipstick out of the filler tube for a second time, keeping the tip pointed downward to prevent the fluid from running up the stick. Bring the dipstick up to eye level and examine both sides of the metal blade. Look closely at the fluid level relative to the etched or printed hash marks, which usually indicate “Hot” and “Cold” ranges. Because you drove the car beforehand, you will be reading the fluid level against the “Hot” indicator marks. Note exactly where the wet fluid line stops on the scale.
Pro Tip: If the fluid film is streaked or hard to read, lay the tip of the dipstick flat against a clean white paper towel. The true fluid level will leave a distinct wet imprint, making it much easier to see.
Step 5: Inspect Fluid Condition and Color
What you need: A clean white paper towel and good lighting.
Instructions: While reading the level, closely evaluate the condition, color, and smell of the transmission fluid on your paper towel. Healthy transmission fluid is typically bright cherry red or translucent pink with a slightly sweet or distinct petroleum smell. If the fluid appears dark brown or black, or if it emits a strong, pungent burnt odor, your transmission fluid is severely degraded or your transmission is overheating, and a fluid change or flush is urgently required. Look also for tiny metallic flakes in the fluid, which indicate internal mechanical wear.
Pro Tip: A burnt smell is a clear warning sign that your transmission clutches are slipping or overheating. Do not simply top off burnt fluid; schedule a professional inspection.
Step 6: Top Off Fluid If Necessary
What you need: A clean long-neck funnel and the correct specification of transmission fluid (check your manual for ATF+4, Dexron VI, Mercon LV, etc.).
Instructions: If your fluid level is below the minimum “Hot” line, you need to add fluid. Insert a clean, specialized transmission funnel directly into the transmission dipstick opening. Pour in the transmission fluid in very small increments—about a quarter of a quart at a time. Wait a minute for the fluid to travel down the narrow tube into the transmission pan. Repeat the wiping and checking process (Steps 3 and 4) until the fluid level sits comfortably between the upper and lower “Hot” marks. Be extremely careful not to overfill.
Pro Tip: Never mix different types of automatic transmission fluid. Using the wrong fluid specification can cause erratic shifting, seal degradation, and catastrophic transmission failure.
✅ Final Checklist
- Vehicle parked on a flat surface with the engine running at operating temperature
- Transmission dipstick wiped clean before taking the official measurement
- Fluid level confirmed to be within the designated “Hot” operating hash marks
- Fluid color verified as bright red/pink with no burnt smell or metallic debris
- Dipstick pushed securely back into the filler tube and locked into place
Important Notes:
- Always exercise caution around hot engine components, spinning belts, and exhaust manifolds while the engine is running.
- Overfilling your transmission can cause foaming, aeration, and erratic shifting; if you overfill, you must drain the excess fluid.
- Seek professional mechanic assistance immediately if you notice metal flakes in the fluid, persistent fluid leaks, or severe transmission slipping.
- Estimated time: 15-20 minutes. Cost: $10 to $25 if purchasing a quart of specialized transmission fluid.
Step-by-Step Guide to Checking Transmission Fluid After Driving
Performing this check immediately after a drive requires a precise sequence to ensure safety and accuracy. Because you will be working under the hood with a running engine, preparation matters.
Preparing Your Vehicle and Safety Precautions
Follow these mandatory steps before pulling the transmission dipstick:
- Drive your vehicle for at least 15 minutes to bring the transmission fluid up to standard operating temperature.
- Find a completely flat, level surface and park your car. A slanted driveway will skew the fluid level on the dipstick.
- Engage the emergency parking brake firmly to prevent any accidental rolling.
- Leave the engine running at a normal idle. Do not turn the car off unless your specific owner’s manual instructs you to do so.
Cycling Through the Gears and Reading the Dipstick
With the engine still idling, press your foot down on the brake pedal. Slowly shift the gear selector through every single gear position (Park to Drive, and back down to Low or Reverse), pausing for about three seconds on each gear. This action pumps fresh fluid through the valve body and torque converter.
Return the gear selector to Park, keep the engine running, and pop your hood. Locate the transmission dipstick—usually marked with a bright yellow or red handle, distinct from your black or orange engine oil dipstick. Pull it out, wipe it clean with a lint-free shop rag, reinsert it fully, and pull it out again to read the fluid level against the hot indicator hash marks.
How to Read the Dipstick and Evaluate Fluid Condition
Once you successfully wipe and reinsert the dipstick, pull it out horizontally to prevent the fluid from running up or down the shaft. Reading the level correctly requires checking both the high and low indicator marks while paying close attention to the physical condition of the liquid.
Interpreting the Fluid Level
Manufacturers stamp distinct “Hot” and “Cold” lines onto the metal blade. Because you just finished driving your vehicle in 2026, the fluid must register within the designated crosshatched “Hot” operating zone. If the thin film falls below the minimum line, your system lacks sufficient hydraulic pressure. Conversely, frothy bubbles indicate an overfilled transmission, which causes excessive heat and premature component wear.
Assessing Color and Odor
Healthy automatic transmission fluid features a bright cherry-red or translucent amber color with a mildly sweet scent. As components degrade, friction material and metal shavings contaminate the fluid. Use the following criteria to evaluate what remains on your shop towel:
- Bright Red/Pink: Normal condition. The fluid retains its protective additives and viscosity.
- Dark Brown: Aging fluid. It requires replacement soon to prevent internal valve body friction.
- Pitch Black with a Burnt Odor: Severe mechanical failure. The clutch packs have burned out, requiring immediate professional intervention.
- Milky Pink: Coolant contamination. Engine coolant has leaked into the transmission cooler, destroying the clutch friction material.
What to Do If Your Transmission Fluid Level Is Low or Dirty
Discovering low or contaminated fluid demands prompt corrective action to safeguard expensive gear assemblies. Ignoring these warning signs frequently leads to catastrophic transmission failure, which requires complete unit rebuilding or replacement.
Corrective Steps for Fluid Maintenance
Depending on the severity of the issue, car owners must apply targeted solutions rather than temporary workarounds. Follow this sequence when servicing your vehicle:
- Top Off Low Fluid: Purchase the exact transmission fluid specification mandated in your owner’s manual (such as DEXRON-VI or ATF+4). Use a long-neck funnel to pour small amounts down the dipstick tube, checking the level frequently to avoid overfilling.
- Perform a Fluid Exchange: If the fluid is dark brown, schedule a professional flush or a drain-and-fill service. Modern 2026 automotive service centers typically charge between $150 and $300 for a standard fluid replacement.
- Inspect for Leaks: Low fluid levels always originate from external leaks or internal consumption. Slide beneath the vehicle with a flashlight to examine the transmission pan gasket, output shaft seals, and cooler lines.
What If It Still Doesn’t Work?
When topping off the fluid fails to resolve shifting delays, shuddering, or slipping gears, deeper mechanical problems are likely present. Persistent transmission issues require targeted troubleshooting steps before minor component failures escalate into total breakdowns.
- Check for Diagnostic Trouble Codes: Plug an OBD2 scanner into your vehicle port to look for stored powertrain codes like P0700 or P0730. Faulty shift solenoids or speed sensors often mimic low fluid symptoms.
- Inspect the Transmission Filter: A clogged internal filter restricts hydraulic flow even when the fluid level is completely full. Replacing a blocked filter requires dropping the transmission pan and typically costs $250 to $450 at a certified repair shop.
- Consult a Certified Transmission Specialist: If the fluid smells heavily burned or contains metallic debris, stop driving immediately. According to automotive service industry data, complete transmission rebuilds range from $3,500 to $5,500 depending on vehicle make and model complexity.
Conclusion
Checking your transmission fluid after driving is entirely possible and often provides the most accurate reading of your vehicle operating levels. Always ensure the engine runs on a level surface, cycle through the gears, and evaluate both the fluid height and color carefully. According to verified research and expert automotive studies, routine fluid maintenance remains the single most effective way to extend transmission lifespan past 150,000 miles. Make it a priority to inspect your transmission fluid levels during every routine oil change this season.
❓ Frequently Asked Questions
Can I check my transmission fluid after driving long distances?
Yes, driving for 10 to 15 minutes is ideal to bring the transmission fluid up to its normal operating temperature. Just exercise caution around hot engine components when popping the hood.
What happens if I check transmission fluid when the engine is completely cold?
If you check it cold, the fluid will have contracted and sit at a much lower level on the dipstick. This can falsely make you think your transmission is dangerously low on fluid when it is actually normal.
Why do I need to shift through the gears before checking the fluid?
Shifting through the gears (from Park to Reverse, Drive, and back) pumps fluid through the entire transmission system and torque converter, filling all passages for an accurate dipstick measurement.
Is it dangerous to overfill transmission fluid?
Yes, overfilling transmission fluid can cause air bubbles to form from the rotating components churning the fluid. This leads to foaming, loss of hydraulic pressure, erratic shifting, and potential internal damage.
How often should transmission fluid be checked and changed?
It is best practice to check your fluid level every few months or during routine oil changes. Fluid changes typically range from every 30,000 to 100,000 miles depending on your vehicle make and driving habits.
What should I do if my transmission dipstick shows no fluid at all?
If the dipstick is completely dry after a proper check, do not drive the vehicle to avoid catastrophic internal damage. Add a small amount of the correct specified fluid type or have the vehicle towed to a mechanic.