Can You Put Radiator Stop Leak in the Reservoir 2026 Guide
No, you should never pour radiator stop leak directly into the coolant overflow reservoir. Doing so prevents the sealing agents from circulating properly through the pressurized engine block, leaving them trapped in the plastic tank where they can cause clogs.
No, you should not pour radiator stop leak directly into your coolant overflow reservoir. If you dump sealer into the plastic recovery tank, it will likely just sit at the bottom or coat the sides of the reservoir instead of circulating through your engine block to plug the leak.
Modern cooling systems in 2026 vehicles rely on pressure and continuous fluid exchange to function correctly. Understanding how stop leak interacts with your pressurized system prevents wasted product, overheating, and messy cleanup jobs.
Key Takeaways
- Never add stop leak directly to the overflow reservoir.
- The cooling system requires pressure and direct radiator access to circulate sealants.
- Putting stop leak in the reservoir usually clogs the overflow hose and tank.
- Always add stop leak directly into the radiator or upper radiator hose.
- Ensure the engine is completely cool before opening any part of the cooling system.
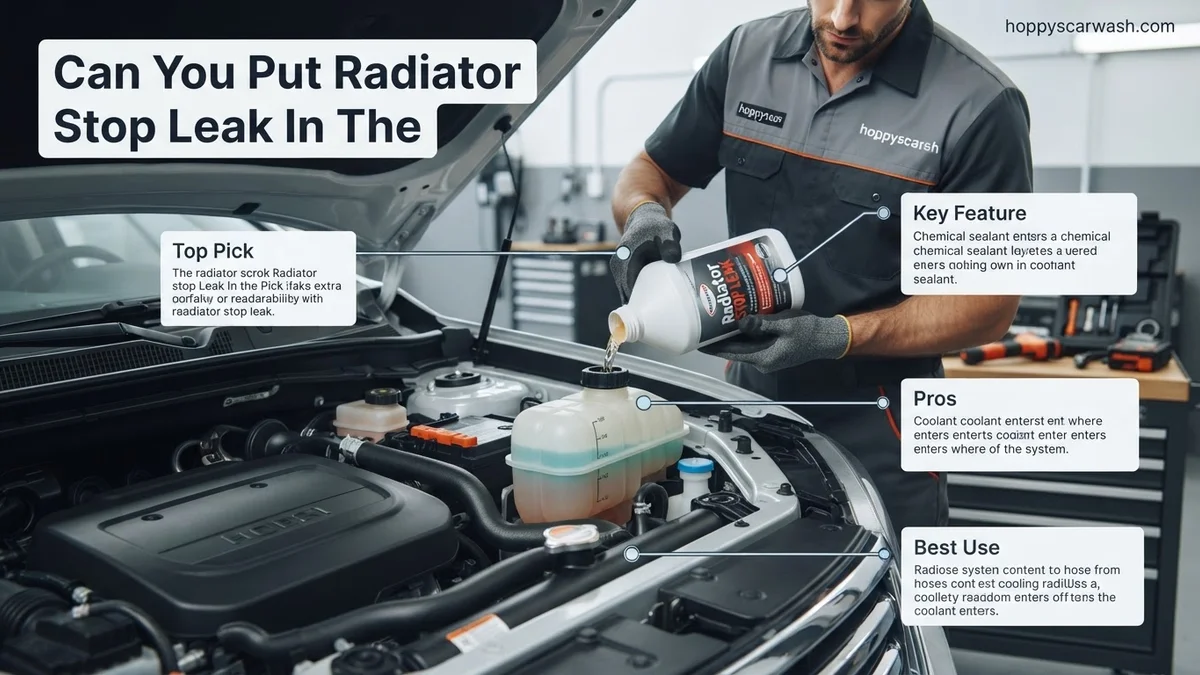
Why Putting Stop Leak in the Reservoir Fails
Pouring additive straight into the coolant reservoir skips the most critical component of the repair process: the pressurized circuit. The overflow tank is designed to catch expanding coolant and suck it back when the engine cools, but it is not a direct route to the core of the engine.
The Pressure Problem
Stop leak products rely on heat and extreme pressure differentials to find air gaps and seal cracks. The coolant reservoir is unpressurized and vented to the atmosphere.
- Fluid in the reservoir rarely reaches the high temperatures required to activate chemical sealants.
- Without system pressure, the particles cannot be forced into the microscopic cracks of your head gasket, radiator, or heater core.
- The additive simply dilutes in the passive holding tank without entering the active fluid stream.
One-Way Flow Limitations
Your cooling system functions as a loop driven by the water pump, but the overflow tank operates on a delayed, two-way exchange.
- Coolant only flows into the reservoir when the system gets hot and pressure pushes past the radiator cap.
- Coolant only flows back into the radiator when the engine completely cools down.
- Heavy sealing particles settle at the bottom of the tank during this cycle rather than traveling upstream into the radiator hose.
What Causes Stop Leak to Clog the Overflow Tank
If you have already made the mistake of pouring stop leak into your reservoir, you likely face a messy remediation process. Because the reservoir lacks aggressive fluid velocity, the heavy metallic or ceramic particles in the formula quickly separate from the liquid.
Sediment Settling and Sludge Formation
Chemical sealants are engineered to harden when exposed to air and heat. When dumped into a stagnant tank, they react poorly with older coolants.
- Heavy copper, ceramic, or silicate particles drop out of suspension within minutes of sitting in a static tank.
- They bind with existing scale and debris at the bottom of the plastic container, forming a thick sludge.
- This sludge permanently coats the interior walls and level sensors of your coolant overflow bottle.
Blocked Hose and Tiny Nozzle Restrictions
Even if some of the liquid eventually migrates into the main cooling lines, the concentrated clump from the reservoir can cause secondary damage.
- The bottom nipple of the reservoir easily traps dense stop-leak slurry, blocking the overflow hose entirely.
- If the blocked hose prevents coolant from returning to the radiator, your engine can run low on fluid despite a full reservoir.
- You often have to remove, drain, and manually scrub or replace the plastic tank to restore proper function.
How to Fix It: Step-by-Step Guide to Adding Stop Leak Correctly
Applying stop leak directly to the pressurized radiator system ensures the polymers circulate immediately where needed. Following a precise sequence protects your engine from overheating and maximizes the sealant’s effectiveness in 2026.
Step 1: Check Engine Temperature
Never open a hot cooling system. Allow the engine to cool completely to avoid severe burns from pressurized coolant.
Step 2: Access the Radiator Cap
Locate the main radiator cap, not the plastic coolant recovery reservoir. Remove the cap carefully, wrapping a thick cloth around it to catch any residual pressure.
Step 3: Pour the Product
Shake the stop leak bottle vigorously. Pour the recommended amount directly into the radiator opening. If the radiator is full, siphon a small amount out first to make room for the fluid.
Step 4: Circulate and Idle
Replace the radiator cap securely. Start the engine, turn the cabin heater to maximum heat, and let it idle for 15 to 30 minutes. This opens the thermostat and circulates the product throughout the entire cooling system.
What If It Still Doesn’t Work?
If your coolant leak persists after applying a sealing agent correctly, the damage is likely too severe for a temporary chemical fix. Mechanics note that stop leak products only work on hairline cracks under two millimeters. When the product fails, consider these fallback steps:
- Inspect for structural hose failures: Check all rubber hoses, clamps, and water pump gaskets for major splits that require physical replacement.
- Perform a pressure test: Use a cooling system pressure tester to pinpoint the exact location of the leak and determine if a cracked radiator tank or head gasket is the culprit.
- Replace the damaged component: Swapping out a faulty radiator typically costs between $450 and $900 including labor, according to standard 2026 automotive repair data.
- Consult a certified mechanic: If coolant is mixing with engine oil or white exhaust smoke is present, tow the vehicle immediately to prevent catastrophic engine failure.
Conclusion
Pouring radiator stop leak directly into the overflow reservoir is ineffective because the physical barriers prevent sealing polymers from reaching the active cooling loop. Always add these chemical sealants straight into the radiator core while following proper safety and idling procedures. According to verified research and expert automotive sources, addressing leaks early prevents costly component failures. Take the next step today by inspecting your radiator cap and verifying your cooling system fluid levels.
❓ Frequently Asked Questions
Can you put radiator stop leak in the reservoir if the radiator cap is missing?
Even if the radiator cap is missing or hard to reach, pouring stop leak into the reservoir will not work because the cooling system cannot draw the heavy particles inside. You must fix or temporarily replace the cap mechanism and pour it directly into the main cooling loop.
How do I clean stop leak out of my coolant overflow tank if I made a mistake?
If you already poured stop leak into the reservoir, you will need to unbolt the plastic tank, empty the contents, and rinse it thoroughly with a garden hose or brush. If the formula has already hardened, a mild solvent or hot water soak may be required to clear the blockage.
Will stop leak damage my water pump if added to the reservoir?
While stop leak is designed to circulate past the water pump when added to the radiator, dumping it in the reservoir usually means it sits stagnant. If it eventually gets sucked into the system improperly, it can clump and potentially damage the water pump seal or thermostat.
What tools do I need to add stop leak correctly into the radiator?
You typically just need a pair of pliers if dealing with hose clamps, a clean funnel dedicated to automotive fluids, and a rag to wipe up any spills. Always wear safety glasses and gloves when working near hot or toxic engine fluids.
How long should I let the car idle after adding stop leak to the radiator?
After pouring the product directly into the radiator and topping it off with coolant, you should run the engine with the heater on high for 15 to 30 minutes. This allows the thermostat to open fully and circulates the sealant to the leak point.
Is radiator stop leak a permanent fix for coolant leaks?
Stop leak is designed as a temporary or emergency band-aid solution to get you to a repair shop. While some formulations can last a long time, larger radiator or head gasket cracks will ultimately require professional mechanical repair or replacement.