Does the Car Need to Be Running to Bleed Brakes 2026 Guide
For a standard brake bleed, the engine should be completely OFF to prevent the master cylinder from drawing air into the lines. Keeping the engine off ensures consistent pedal stroke and pressure during the bleeding process. However, certain modern vehicles with electronic boosters or specialized ABS systems may require specific diagnostic procedures.
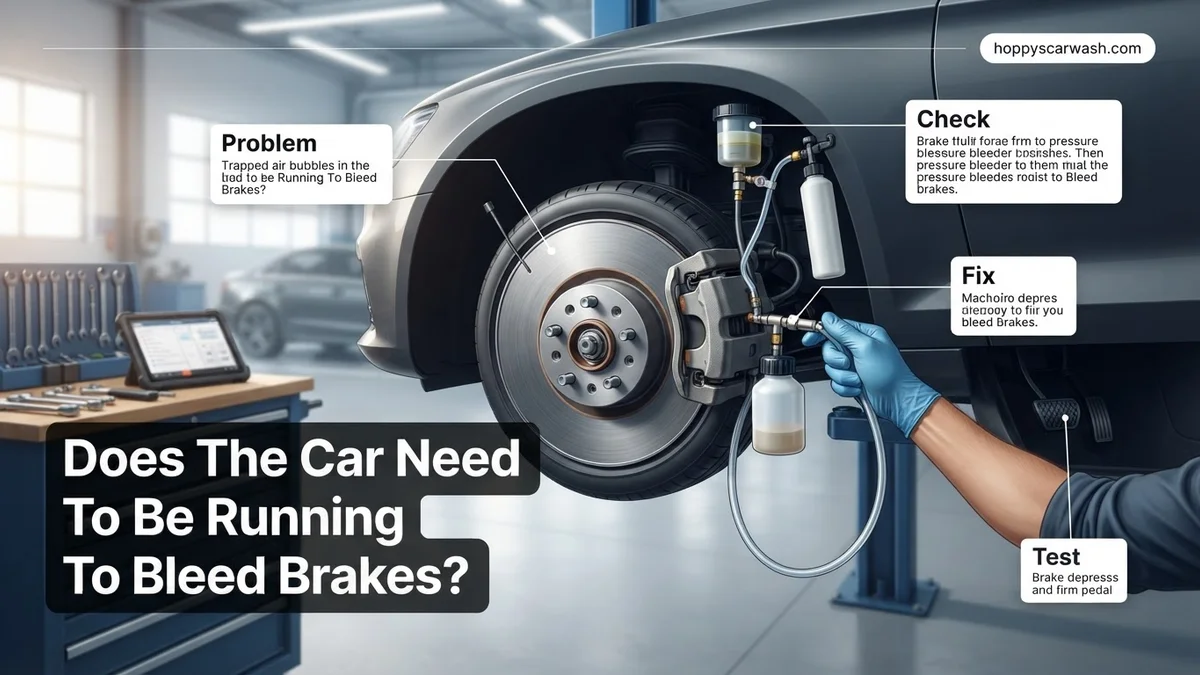
No, your car does not need to be running to bleed your brakes. In fact, for a standard hydraulic brake bleed, keeping the engine completely off is the safest and most effective method. Whether you are wrenching on a classic project car or servicing a modern 2026 daily driver, starting the engine while opening bleed valves can introduce air into the system or cause the brake pedal to behave unpredictably.
Getting this detail right matters because a botched brake bleed compromises your stopping power. Knowing when the engine needs to be off—and when modern electronic systems demand otherwise—prevents costly mistakes and ensures firm pedal feedback the first time you step on the brakes.
Key Takeaways
- A standard brake bleed requires the engine to remain OFF.
- Running the engine creates vacuum assistance that disrupts fluid movement.
- Modern vehicles with electronic ABS may require a dedicated scan tool.
- Always keep the master cylinder reservoir filled with fresh brake fluid.
- An assistant pumping the pedal should use smooth, controlled strokes.
Why Your Car Engine Must Be Off When You Bleed Brakes
For almost all traditional hydraulic braking systems, the golden rule is engine off. If you start the car, you risk fighting against active mechanical systems that interfere with fluid movement through the brake lines.
Master Cylinder and Vacuum Booster Dynamics
When your engine is running, the brake booster uses engine vacuum (or an electronic pump in modern hybrid and electric vehicles) to amplify your foot pressure. If you depress the brake pedal while bleeding with the engine running, this heavy boost pressure can push fluid through the master cylinder ports too aggressively. This turbulence whips tiny air bubbles into the brake fluid, making them nearly impossible to purge. Keeping the engine off ensures a steady, controlled mechanical stroke from the master cylinder.
Preventing ABS Module Aeration
Modern vehicles feature complex Anti-lock Braking System (ABS) modules with tiny internal valves. If the ignition is on and the engine is running, the vehicle’s computer may actively cycle valves or run diagnostic checks. Opening a bleed screw while the ABS pump is pressurized can trap air deep inside the module control block. By keeping the engine off, you ensure that the hydraulic circuit remains static, allowing you to systematically push old fluid and trapped air straight out of the bleeder valves without electronic interference.
- Engine vacuum and electronic boosters create too much pressure for a clean bleed.
- An active system can trap air bubbles inside delicate ABS valve blocks.
- Keeping the engine off keeps the master cylinder pistons at rest until you manually stroke them.
Master Brake Bleeding in 7 Simple Steps
Bleeding your vehicle’s brakes is an essential maintenance task that ensures your stopping power remains firm, responsive, and safe. A common question DIY mechanics ask is whether the car needs to be running during the process. In short, for standard hydraulic bleeding, the engine should typically remain off. However, the presence of ABS (Anti-lock Braking System) modules or vacuum-assisted boosters introduces nuances that every home mechanic must understand. This comprehensive guide will walk you through the preparation, the bleeding sequence, and the critical decisions regarding whether to turn your ignition on or off.
Step 1: Evaluate Your Brake System and Engine Status
What you need: Vehicle service manual, flashlight, and a basic understanding of your car’s braking setup (standard vs. ABS).
Instructions: Before touching a wrench, determine if your engine should be running. For 90 percent of traditional, non-ABS or standard ABS bleed procedures, the engine must be completely OFF. Running the engine activates the power brake booster, which introduces vacuum pressure to the master cylinder and makes the pedal travel erratic and unpredictable while bleeding. However, if your vehicle features an advanced electronic brake-by-wire system or requires specific automated bleeding routines via an OBD2 scan tool, the manufacturer may instruct you to have the ignition in the ON position (engine not necessarily running, but electrical systems active) to power the internal pump valves.
Pro Tip: Never rely on guesswork; always consult your specific vehicle repair manual to see if your car demands a specialized electronic bleeding sequence.
Step 2: Gather Your Tools and Supplies
What you need: Box-end wrenches (usually 8mm, 10mm, or 11mm), a clear vinyl tube, a catch bottle, fresh DOT 3 or DOT 4 brake fluid, a turkey baster, and a jack with jack stands.
Instructions: Lay out all your equipment within arm’s reach of the wheels. Ensure you have at least one unsealed quart of high-quality brake fluid that matches your manufacturer’s specification. Clean any dirt or debris away from the master cylinder reservoir cap using a clean shop rag. Having everything organized prevents you from having to walk away with open bleeder valves, which can quickly drain your system and let air into the lines.
Pro Tip: Brake fluid ruins automotive paint instantly. Keep a spray bottle filled with soapy water nearby to immediately neutralize any accidental drips on your car’s exterior.
Step 3: Prep the Master Cylinder Reservoir
What you need: Turkey baster, fresh brake fluid, and lint-free shop rags.
Instructions: Open the hood and locate the master cylinder brake fluid reservoir. Inspect the fluid color; if it is dark brown or black, use your turkey baster to extract the old, contaminated fluid from the reservoir, leaving just a small amount at the bottom to prevent air from entering the master cylinder port. Top off the reservoir to the “MAX” line using your fresh, unopened bottle of brake fluid. Securely replace the cap loosely to prevent debris from falling in while allowing you quick access to top it off later.
Pro Tip: Never let the master cylinder run dry during the bleeding process, or you will pull air directly into the master cylinder, forcing you to bench-bleed it all over again.
Step 4: Safely Elevate and Secure the Vehicle
What you need: Hydraulic floor jack, rated jack stands, wheel chocks, and lug nut wrench.
Instructions: Engage your emergency brake firmly, then use wheel chocks to secure the wheels that will remain on the ground. Loosen the lug nuts slightly, lift the vehicle using safe factory jack points, and lower the car securely onto heavy-duty jack stands. Remove the wheels to gain unobstructed access to the brake calipers or wheel cylinders. If you are working on a flat, level concrete surface, this setup ensures safety and allows you easy access to every bleeding nipple.
Pro Tip: Always give the car a firm shake once it is resting on the jack stands to verify absolute stability before sliding underneath or reaching into the wheel wells.
Step 5: Identify the Bleed Sequence and Connect Your Catch Setup
What you need: Clear vinyl tubing, a waste collection bottle, and the correct box-end wrench.
Instructions: Consult your manual to determine the correct bleeding order, which traditionally starts at the wheel furthest from the master cylinder (usually passenger rear, driver rear, passenger front, driver front) and moves closer. Slip your box-end wrench over the bleeder valve, then attach one end of the clear vinyl tubing tightly onto the nipple, placing the other end into your waste collection bottle containing a small amount of old fluid to act as a seal.
Pro Tip: Slide the box-end wrench onto the bleeder screw before pushing the vinyl tube onto the nipple so you do not trap the wrench on the tubing.
Step 6: Execute the Manual Bleeding Process (Engine OFF)
What you need: An assistant to pump the brake pedal, fresh brake fluid, and your bleeding tools.
Instructions: With the engine turned completely OFF, have your assistant inside the car slowly press the brake pedal three times and hold it down on the third pump. Call out “Holding!” Loosen the bleeder valve about a quarter to a half turn with your wrench. You will see old fluid and air bubbles rush through the clear tube. Your assistant will feel the pedal sink to the floor and must shout “Down!” As soon as the pedal hits the floor, quickly tighten the bleeder valve back up. Tell your assistant to release the pedal. Repeat this cycle until the fluid running through the tube is completely clear and free of air bubbles.
Pro Tip: Instruct your assistant never to lift their foot off the brake pedal until you have completely tightened the bleeder screw to prevent sucking air back into the caliper.
Step 7: Monitor Fluid Levels and Test the System
What you need: Fresh brake fluid, shop rags, torque wrench, and wheels.
Instructions: Move sequentially to the remaining wheels, repeating the bleeding procedure while constantly checking and topping off the master cylinder reservoir after every few pumps. Once all four corners are bled, clean any residual fluid off the bleeder valves with brake cleaner and wipe them dry. Reinstall the wheels, lower the vehicle, and torque the lug nuts to factory specifications. Finally, with the engine still off, press the brake pedal; it should feel firm and high. Start the car and test the pedal again; it should sink slightly as the vacuum booster engages, but remain firm and solid, never spongy.
Pro Tip: Take the vehicle for a low-speed test drive in a safe, empty parking lot to ensure your stopping distance and pedal feel are completely restored before hitting public roads.
✅ Final Checklist
- Master cylinder reservoir is filled to the MAX line and cap is tightly secured
- All four bleeder screws are torqued properly with no active fluid leaks
- Brake pedal feels firm and consistent with the engine off and on
- Lug nuts are torqued to manufacturer specifications
- No brake fluid spilled on painted body panels or brake rotors
Important Notes:
- Always wear safety glasses and gloves, as brake fluid is caustic and harmful to skin and eyes.
- If your vehicle has an advanced ABS module that traps air, or if you accidentally let the master cylinder run dry, seek professional assistance from a certified mechanic with a bi-directional scan tool.
- Estimated time: 1 to 2 hours. Cost range: $10 to $30 for a couple of bottles of fresh brake fluid.
How to Properly Bleed Brakes Without the Engine Running
Executing a standard brake bleed with the engine off relies on gravity, manual pedal pumping, or a pressure bleeder. Because the master cylinder is unassisted, you have total control over the fluid movement.
The Manual Pedal Method (Engine Off)
With the ignition key out and the engine off, top off your brake master cylinder reservoir with fresh DOT 3, DOT 4, or DOT 5.1 fluid, depending on your vehicle specifications. Have an assistant press the brake pedal firmly three times and hold it down. Open the bleeder valve on the furthest wheel to let trapped air and dark fluid escape, then close the valve before your assistant releases the pedal. Repeat this process until the fluid runs crystal clear and completely bubble-free.
Monitoring Fluid Levels Safely
Because the engine is off and the brake booster is not masking any pressure drops, you must pay close attention to the master cylinder reservoir. Without engine assistance, a standard pedal stroke can draw a surprising amount of fluid down quickly. If the reservoir runs dry during the bleeding process, you will pull air directly into the master cylinder, forcing you to bench-bleed it and start the entire process over from scratch.
- Ensure the engine and ignition are fully turned off before opening any bleed screws.
- Maintain a clean working environment and keep the master cylinder reservoir filled above the minimum line.
- Perform the bleed sequence starting from the wheel furthest from the master cylinder and moving closer.
When Electronic Brake Boosters and ABS Change the Rules
Modern vehicle architectures introduced in recent model years require a completely different approach to hydraulic maintenance. Traditional vacuum-operated boosters rely on engine vacuum, meaning the engine status directly dictated the brake pedal assist. However, contemporary vehicles increasingly utilize electronic brake boosters and sophisticated Anti-lock Braking System (ABS) modules that operate independently of engine combustion.
Understanding Sensotronic and Electronic Systems
Vehicles equipped with electronic brake-by-wire or advanced regenerative braking systems often mandate specific manufacturer protocols. According to technical service bulletins from major automakers in 2026, attempting to bleed brakes on certain hybrid or electric vehicles without powering on the ignition can trap air inside the ABS modulator valves. This occurs because solenoid valves within the hydraulic control unit remain closed unless energized by the vehicle’s computer network.
The Role of Diagnostic Scanners
For these advanced systems, technicians must utilize a bidirectional OBD-II diagnostic scanner alongside the standard bleed procedure.
- Connect an advanced automotive diagnostic tool to the vehicle data link connector.
- Turn the ignition to the ON position without starting the engine to activate the electronic control modules.
- Navigate the software menu to select the automated ABS bleed or automated pressure routine.
- Follow the on-screen prompts to cycle the internal hydraulic pumps and release trapped micro-bubbles.
- Perform the manual or pressure bleed sequence at each wheel caliper as directed by the software.
Failing to engage the electronic control module during this process leaves contaminated fluid trapped inside the accumulator, compromising overall stopping distance.
What to Do If Your Brake Pedal Still Feels Spongy
A soft or spongy pedal immediately following a fluid replacement indicates that air remains trapped somewhere in the hydraulic network or that a component has failed. Re-evaluating the entire procedure ensures safety before returning the vehicle to public roads.
Troubleshooting Persistent Air Pockets
If standard re-bleeding fails to restore firm pedal resistance, specific mechanical issues are typically to blame.
- Check all four bleeder screws for proper torque, ensuring that threads are not drawing air past the sealant or loose fittings.
- Inspect flexible rubber brake hoses for internal ballooning or microscopic micro-fractures under pressure.
- Bench-bleed the master cylinder if air was allowed to enter the primary reservoir ports during the initial fluid swap.
- Inspect the brake calipers for stuck slide pins or misaligned pistons that prevent proper self-adjustment.
According to automotive repair data, professional hydraulic diagnostics at a certified repair facility typically cost between $150 and $300, depending on labor rates and whether an electronic ABS module purge is required.
Conclusion
For the vast majority of traditional vehicles, the engine does not need to be running to bleed brakes effectively. Keeping the engine off prevents accidental fluid spraying and avoids vacuum interference, while modern electronic vehicles require ignition power and specialized diagnostic tools. According to verified research and automotive service standards, proper fluid maintenance every two years ensures optimal hydraulic pressure and safety. Take the next step by consulting your specific vehicle service manual to confirm whether an electronic ABS bleed sequence is mandatory for your make and model.
❓ Frequently Asked Questions
Does the car need to be running to bleed brakes on older vehicles?
No, older vehicles rely purely on mechanical master cylinder operation, meaning the engine must be off to maintain standard pedal resistance and fluid control.
Why does the brake pedal feel different when the engine is running versus off?
When the engine runs, the vacuum booster or electronic pump assists pedal depression, making it feel much softer and deeper than when the system is unpressurized.
Can leaving the engine running introduce air into the brake lines?
Yes, rapid changes in internal booster pressure can erraticize master cylinder piston movement, potentially pulling air pockets back through the ports.
Do hybrid or electric vehicles require special brake bleeding steps?
Many EVs and hybrids feature electronically integrated braking systems that require specific scan tool commands and the ignition disabled or enabled in a precise sequence.
Should I disconnect the battery before bleeding my brakes?
It is generally not necessary unless you are replacing ABS components, but keeping the doors closed prevents electronic pumps from inadvertently waking up.
What tools do I need for a successful standard brake bleed?
You will need fresh brake fluid, a wrench for the bleeder valves, a clear catch tube, and an assistant or a vacuum bleeding tool.